

In this post we will be building an image gallery step by step using JavaScript and Publitio.
Why would you want to use Publitio?
Publitio’s API is capable of handling any files you throw at it. It will make this or any other project much easier since we do not have to think about uploading, storing, validating, converting, resizing, etc.. and in simpler projects just like this one there is no need to have any kind of database since we can upload and offload directly to and from Publitio’s API.
Ingredients:
We will be using JavaScript which does work on its own inside of any browser but we will be pairing it with Webpack. Why? It just makes things even easier for JS web development since we can actually use NPM to install stuff and use them in our browser.
I will also be using a virtual host just to make my web page have a nice friendly URL which is completely optional.
We will follow Publitio’s documentation and the readme file provided in Publitio JS SDK github page.
The only thing we actually need is NPM which comes with installing NodeJS and you can grab your own from their official website:
https://nodejs.org/
I am currently running:
Node v16.6.1
NPM v7.20.3
And I will be using the VScode editor which comes in with a built-in terminal so we can easily type in the npm commands we need.
Let’s start by creating a folder for our project and running the npm init command inside of it.
After running the command we will be prompted to enter some info about our project. The default values are absolutely fine.
This will create a package.json file for us which contains all this data, and it should look like this:
Now that we have our project and NPM setup we can install the packages we will use later in the project.
npm install webpack webpack-cli --save-devnpm install publitio_js_sdk –save
This will install our three packages we will work with, –save flag will save these dependencies to our package.json file and –save-dev will do the same but specify that the dependency is required only in the development stage of the project. Also this will add a node_modules folder and a package-lock.json file which holds the data and code for our dependencies.
Next, we want to add a hierarchy to our project by adding a few folders.
We will need a public folder which is going to be the entry point of our project and will include an index.html with a simple HTML structure.
We also need a src folder for all of our JS files, the first one will be app.js with a simple console.log inside of it.
We will not connect these two files yet but will do in the next step.
So if you double click your index.html file or go to a virtual host specified to read our public folder you will see something like this:

Alright, let’s dive into package.json once again and set up the webpack package now.
In our scripts part of this file we have by default a test script which is just a placeholder and doesn’t do much, we can replace it with a build script. Our build script will use webpack to compile and minify all of our JS files to a single file that we will call bundle.js.
"scripts": {"build": "webpack"},
We still can’t run this script because we need to set up a config file so webpack knows which files to compile and where to place the output. This config file will be on the root of our project, it’s name should be webpack.config.js and you can just copy the contents of mine.
Setting up our script will allow us to use a new command in our command line npm run build.
If you run this command now you will see some output in your command line but you will also notice that the script created a new folder called assets in our public folder and a new file inside of it called bundle.js. Yes this is the file we mentioned earlier and it contains all of our code written in our src/app.js.
We can finally include this file in our index.html, reload the page and check the developer console for our JS output.
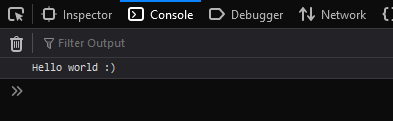
This means that everything is connected perfectly. Only downside of this is that if we change anything in our src/app.js file and reload the page the change won’t take any effect before we run our little command again. But webpack knows about this and it is actually pretty simple to solve. We will add another script to our package.json file.
"scripts": {"build": "webpack","watch": "webpack --watch"},
When we run this command we will not be able to type in our terminal again. This is because the script will not stop until we make it, until then it will constantly watch over our files and will recompile if there is a change which makes it a lot easier for development.
npm run watch
Now that we have everything setup we can add some basic HTML and CSS I prepared earlier.
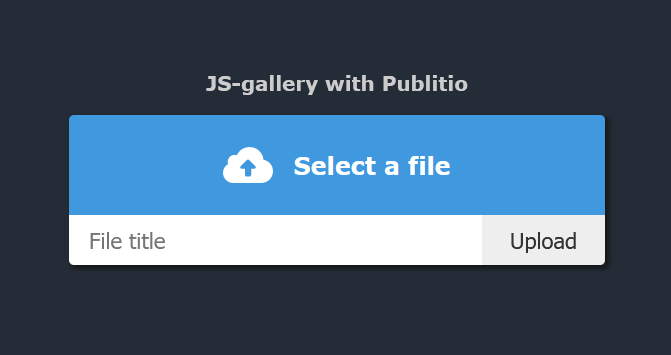
We want to be able to upload a file and set a title so we will need a form with file input field, text input field and a submit button. Elements that we will want to use in our JS code will all have a unique id attribute set so we can target them easily.
Our web page should look like this now:
Our form looks good so let’s make it work even better by bringing Publitio into the game.
As you remember we already installed publitio_js_sdk package and we just need to include it into our code.
import PublitioAPI from 'publitio_js_sdk'This line will add Publitio JS SDK to our file but there is an even better way to do this:
import PublitioAPI from '../node_modules/publitio_js_sdk/build/publitio-api.min.js'As specified in the readme file of the package repository basically there is no difference in which line we use except that the second one will make our bundle.js file at least 50KiB lighter.
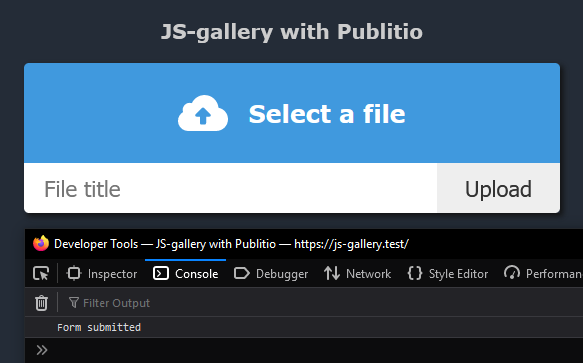
Now we want to select our form via its id attribute and make a form submit event which will trigger a new function called submitForm. Inside this function we want to stop the form from being actually submitted by adding an event.preventDefault() line in the beginning of it and doing a simple console log to see if everything is working as it should.
Now when we save this and reload our page, open up the developer console and try submitting the form. We should see a console output for each time we press the Upload button (or enter key).
It’s all going well for us. Lets remove the console log command and store our form values inside variables and use them to make a Publitio API request to upload them.
Firstly, we want to create a new PublitioAPI instance using our API KEY and API SECRET string which we can get from Publitio’s API page.

Then we will use this instance to do an API call in which we will send the file and the data to Publitio. In the then block we will check for success boolean which will tell us if the call was successful or not we will also pass in the title of the file from our text input field.
publitio.uploadFile(image, 'file', {'public_id': title ?? null,'title': title ?? null}).then((data) => console.log(data)).catch(() => console.log("Something went wrong"))
Even when the Publitio call finished we still don’t have any kind of sign that it finished successfully except the console log so let’s work on that next. Also we have some variables that we will repeat and it would be much cleaner if we had them in a separate file so let’s do that too.
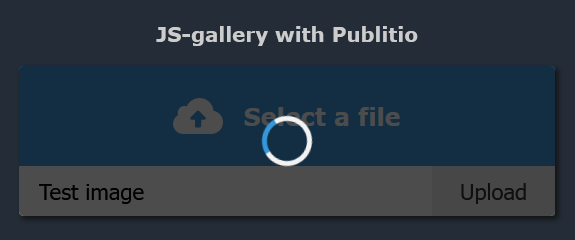
We can clearly see that the files are being uploaded but we don’t see any. If we take a look at our Publitio dashboard file list we will find our uploaded files right there.
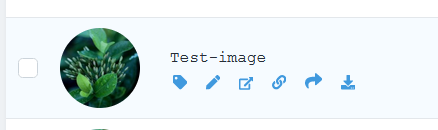
Instead of placing them in the root of our file list lets place it in a specific folder. So let’s go ahead and create a new folder in the dashboard, we will add its name to our ENV variable list and will use it to upload and read to/from it.
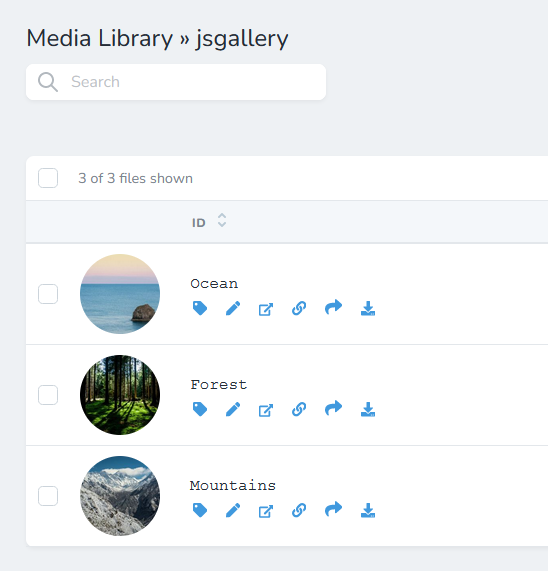
From now on all of the uploaded files will be inside this specific folder so it does not interfere with our other files.
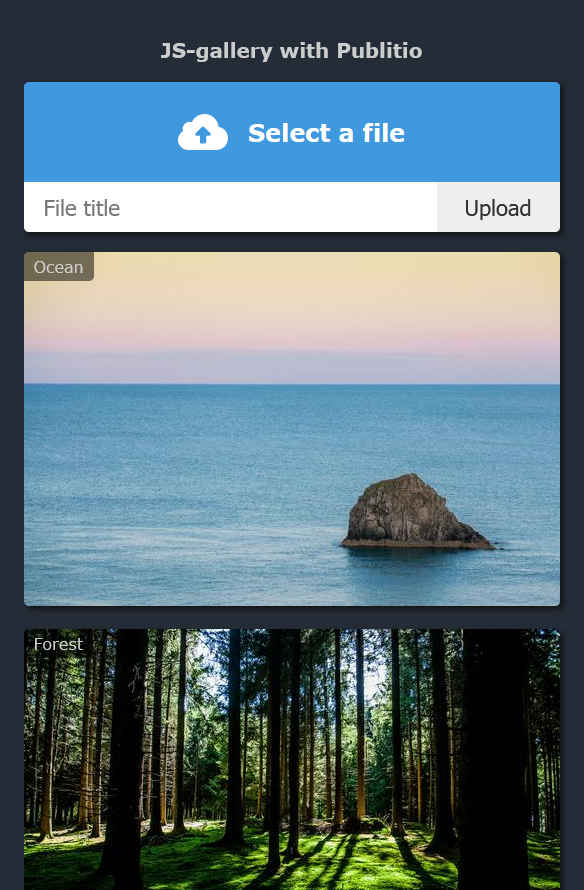
Perfect, let's now work on our gallery. Lets display the first 5 images from our folder in our gallery below the upload form.
We would need a HTML container for our images and another Publitio API call to get our images, our call should look like this:
publitio.call('/files/list', 'GET', { limit: '5'})
        .then(response => { console.log(response) })
        .catch(error => { console.log(error) })
Yes, that is all it takes, we just need to loop through results and print them out. We can also use different kinds of filters in our Publitio calls such as: limit, offset, folder, filter_type, order…
You can find the list of all filters in Publitio documentation.
If your files look like these you should see the gallery too.
You may notice that when you upload a new image it does not show up unless you reload the page, so let’s work on that. When a file gets uploaded to Publitio, API sends back the data of that file, so we can use that to create a new image and add it to the beginning of our gallery container and if our gallery contains more than 5 images we will remove the last one. We will also want to clear the form once the upload is finished so that we don’t accidentally upload the same file twice.
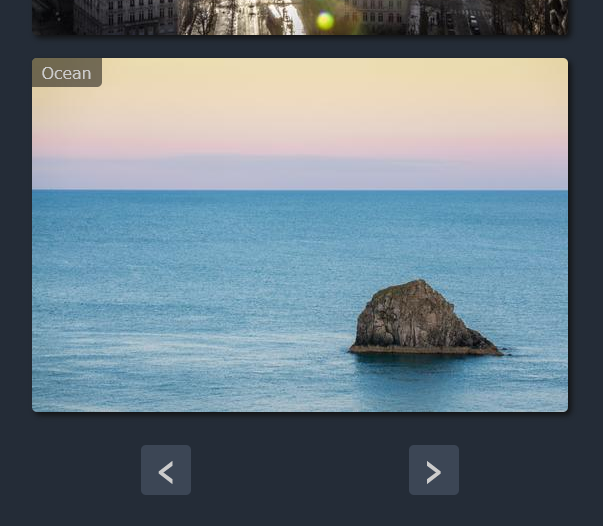
The last thing we wanna do is make a pagination for our little gallery and using offset parameter in our Publitio call will help us with that. And we can use the results data to calculate all numbers we need for building a simple pagination.
Now we have a little pagination at the bottom.
Simple as that we have a fully functional image gallery, thank you for reading through.
All of the code is a available on this github repository:
https://github.com/ilic993/publitio-js-gallery
You are free to use the code, play around with it and make it better, there is always room for improvement.
Also, let me know your thoughts of this post in the comments below.
Happy coding.


