Harnessing the Power of GPUs: GPU-Accelerated Video Conversion with FFmpeg
In the world of multimedia, speed and efficiency are paramount. If you've ever wanted to supercharge your video conversion processes, then the GPU (Graphics Processing Unit) acceleration feature of FFmpeg might just be your secret weapon. In this section, we'll explore how to leverage CUDA and GPU acceleration to turbocharge your video conversion tasks.
Understanding GPU Acceleration
A GPU is designed to handle complex calculations and render graphics efficiently. With advancements in technology, GPUs have become increasingly capable of handling not only graphical tasks but also general-purpose computing tasks. This includes video encoding and decoding, which traditionally relied heavily on the CPU (Central Processing Unit).
GPU acceleration offloads certain video processing tasks to the GPU, making them significantly faster. This is especially beneficial when working with high-definition videos, batch processing, or real-time encoding for streaming.
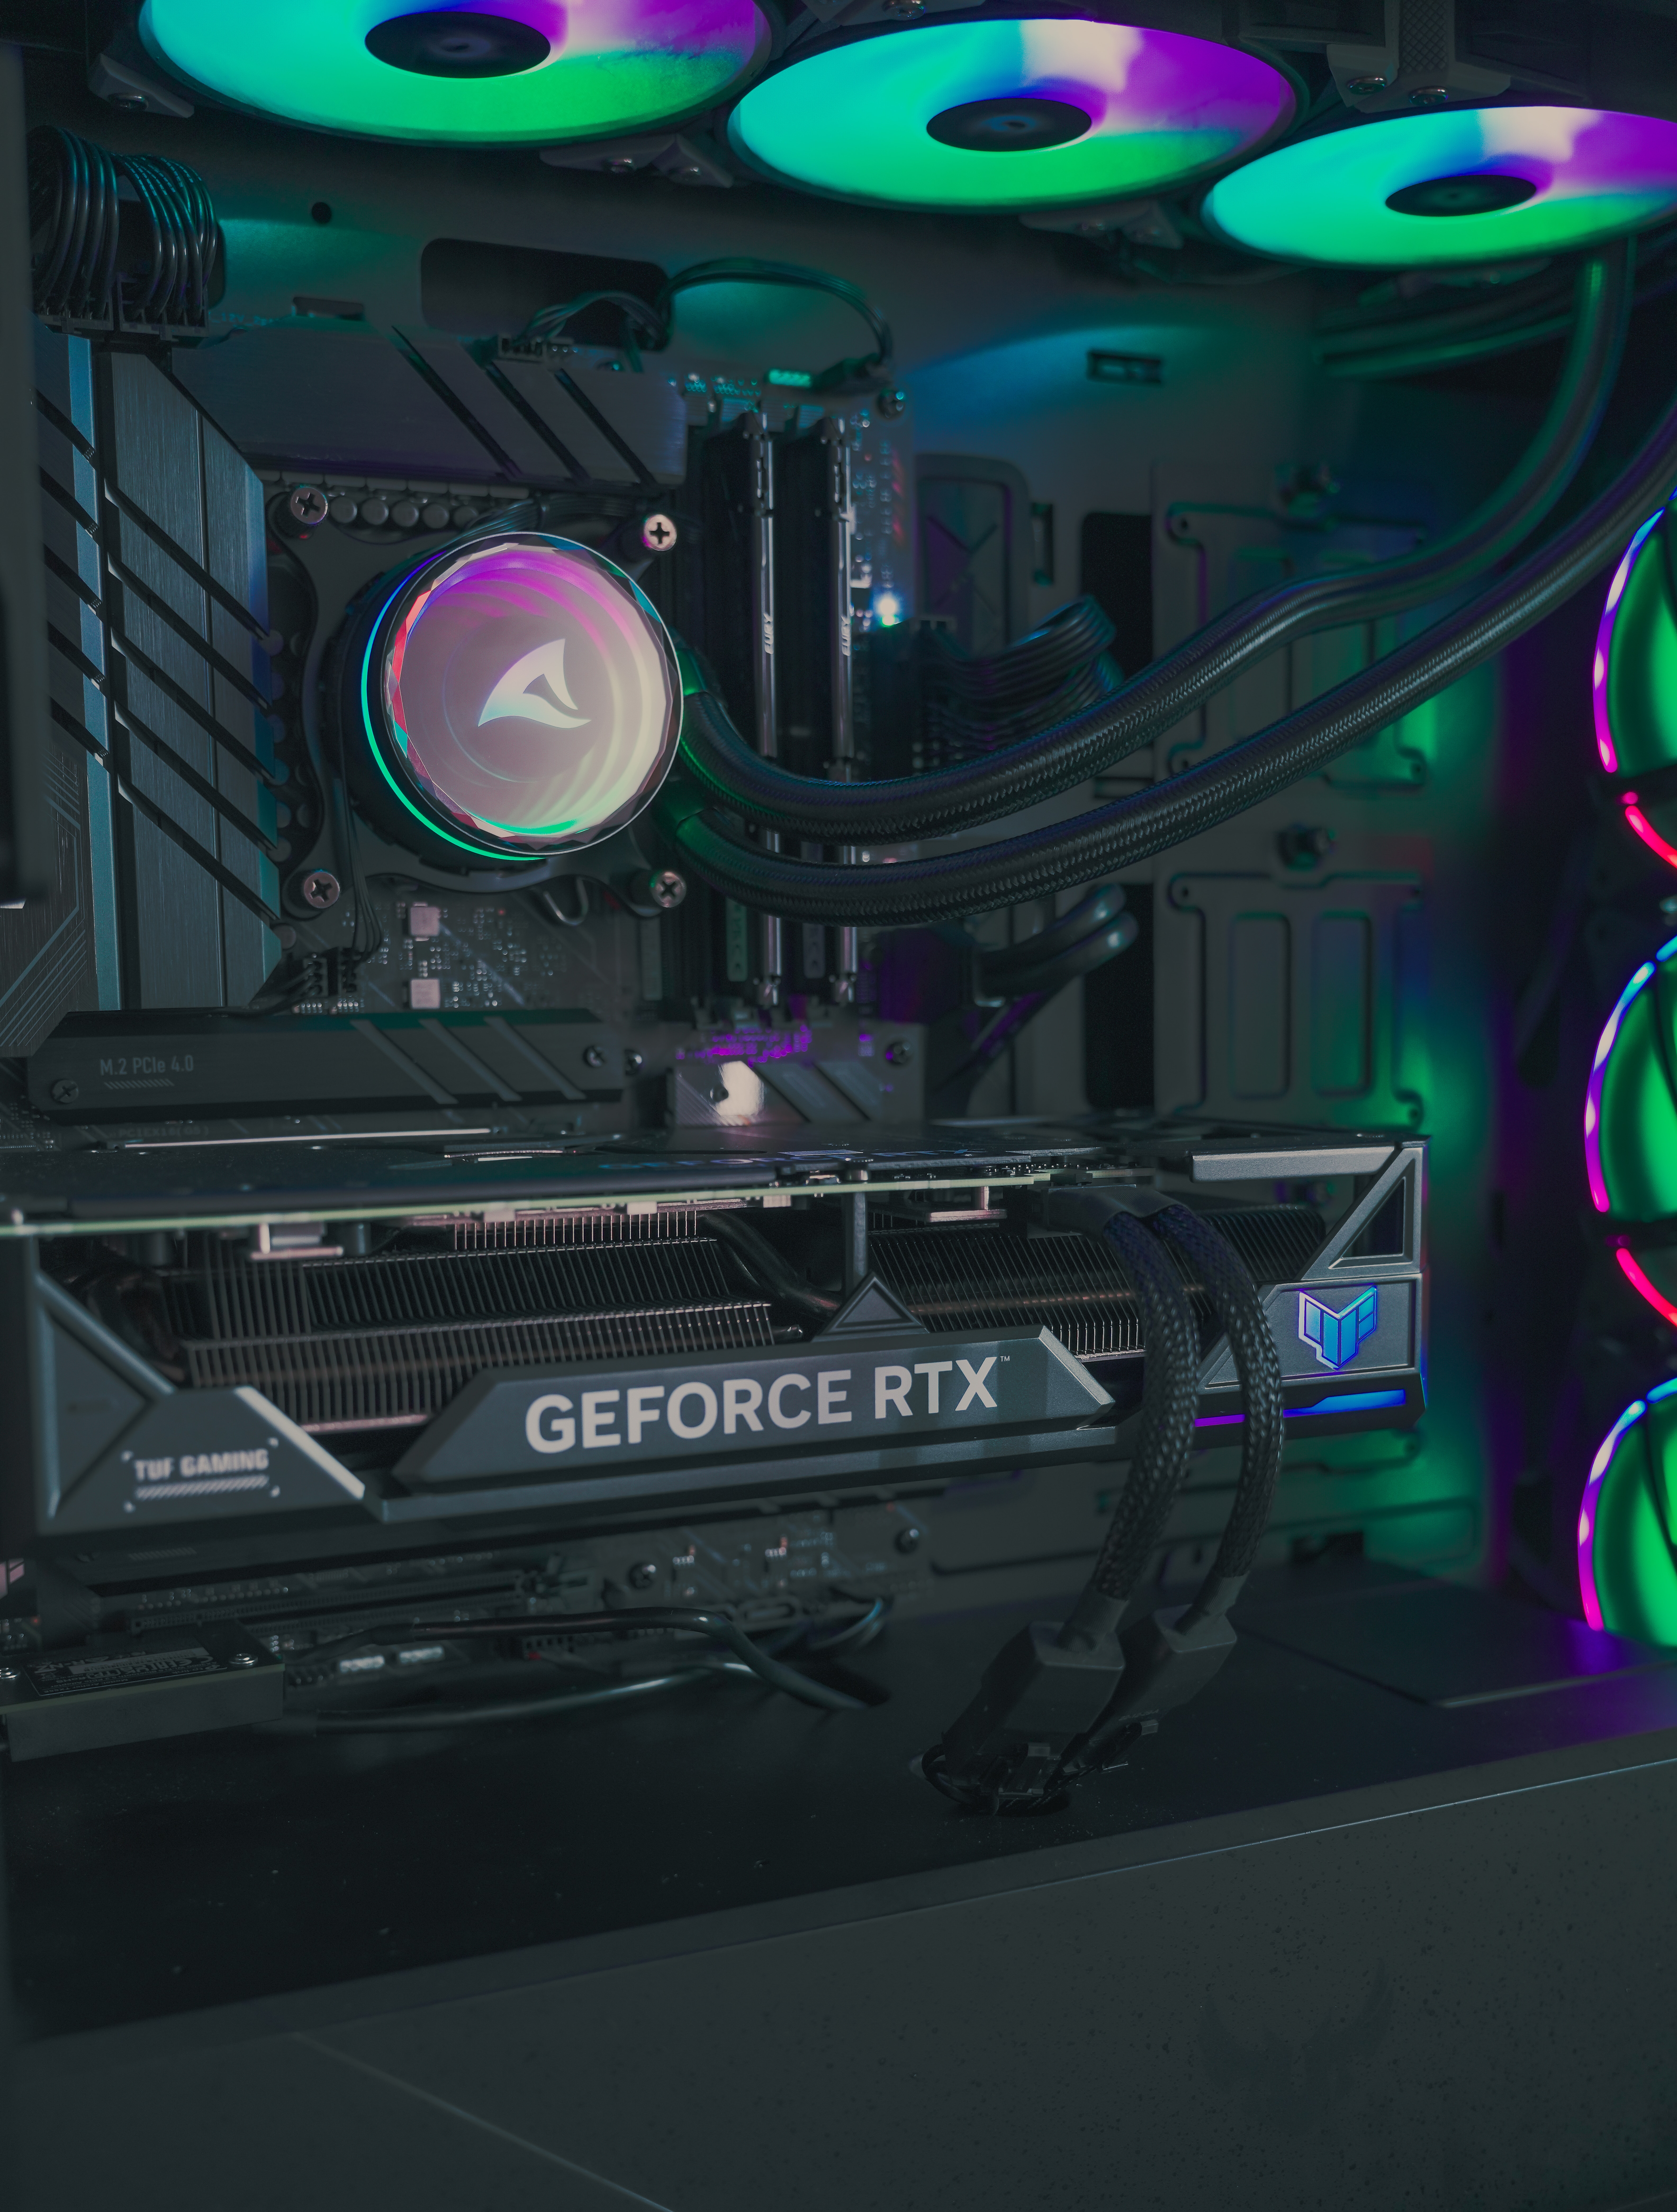
 GPU graphic card
FFmpeg and GPU Acceleration
FFmpeg supports GPU acceleration through a feature called CUDA, which is NVIDIA's parallel computing platform and API. To utilize GPU acceleration with FFmpeg, you need a compatible NVIDIA GPU and the appropriate CUDA toolkit and drivers installed on your system.
Here's how to enable GPU acceleration in FFmpeg:
Check for GPU Support:
First, verify that your FFmpeg installation was built with CUDA support. You can do this by running:
ffmpeg -versionLook for "libavutil" and "libavcodec" with "h264_nvenc" or similar entries. This indicates CUDA support.
02. Select the Appropriate Codec:
To use GPU acceleration, you'll need to select a codec that supports it. For example, NVIDIA GPUs are known for their support of the h.264 and h.265 (HEVC) codecs. When encoding videos, specify these codecs for GPU acceleration:
ffmpeg -i input.mp4 -c:v h264_nvenc output.mp4This command utilizes the NVIDIA GPU to accelerate the h.264 video encoding process.
03. Fine-Tune Encoding Parameters:
You can fine-tune GPU-accelerated encoding by adjusting parameters like the bitrate and quality settings. For instance:
ffmpeg -i input.mp4 -c:v h264_nvenc -b:v 1000k -preset fast output.mp4This command sets a target bitrate of 1000 kilobits per second and uses the "fast" encoding preset.
Benefits of GPU Acceleration
The advantages of GPU acceleration with FFmpeg are numerous:
Speed: Encoding and decoding videos is significantly faster, especially for high-definition content.
Efficiency: GPU acceleration reduces the load on your CPU, allowing your system to perform other tasks simultaneously.
Real-time Encoding: Ideal for live streaming or real-time video processing.
Better Quality: GPU-accelerated encoders can often produce better video quality at lower bitrates.
How to install CUDA on Ubuntu
You can easily install CUDA toolkit on Ubuntu 20 server with Nvidia GPU graphic cards with following commands:
sudo apt updatesudo apt install nvidia-cuda-toolkitnvcc --version
How to install FFMPEG with CUDA support for GPU accelerated video conversion
There are couple of ways to install FFmpeg with CUDA support, one of the best guide to follow is here. Once you have installed CUDA toolkit, you could run just this bash script command which will install and compile from source FFmpeg with Nvenc codec and CUDA support :
bash <(curl -s "https://raw.githubusercontent.com/markus-perl/ffmpeg-build-script/master/web-install-gpl-and-non-free.sh?v1")This will crate new ffmpeg binaries that you can copy to desired location. And from there you could use ffmpeg commands for GPU accelerated video conversion via CUDA support:
ffmpeg -hwaccel cuvid -hwaccel_output_format cuda -i video.mov -c:v h264_nvenc -preset slow -movflags faststart -profile:v baseline -max_muxing_queue_size 9999 -vf "scale_npp=1280:720:interp_algo=super" -cq 28 -b:v 800k -maxrate 856k -bufsize 1200k -c:a aac -strict experimental -ar 48000 -b:a 96k output.mp4Using GPU accelerated video processing with Publitio
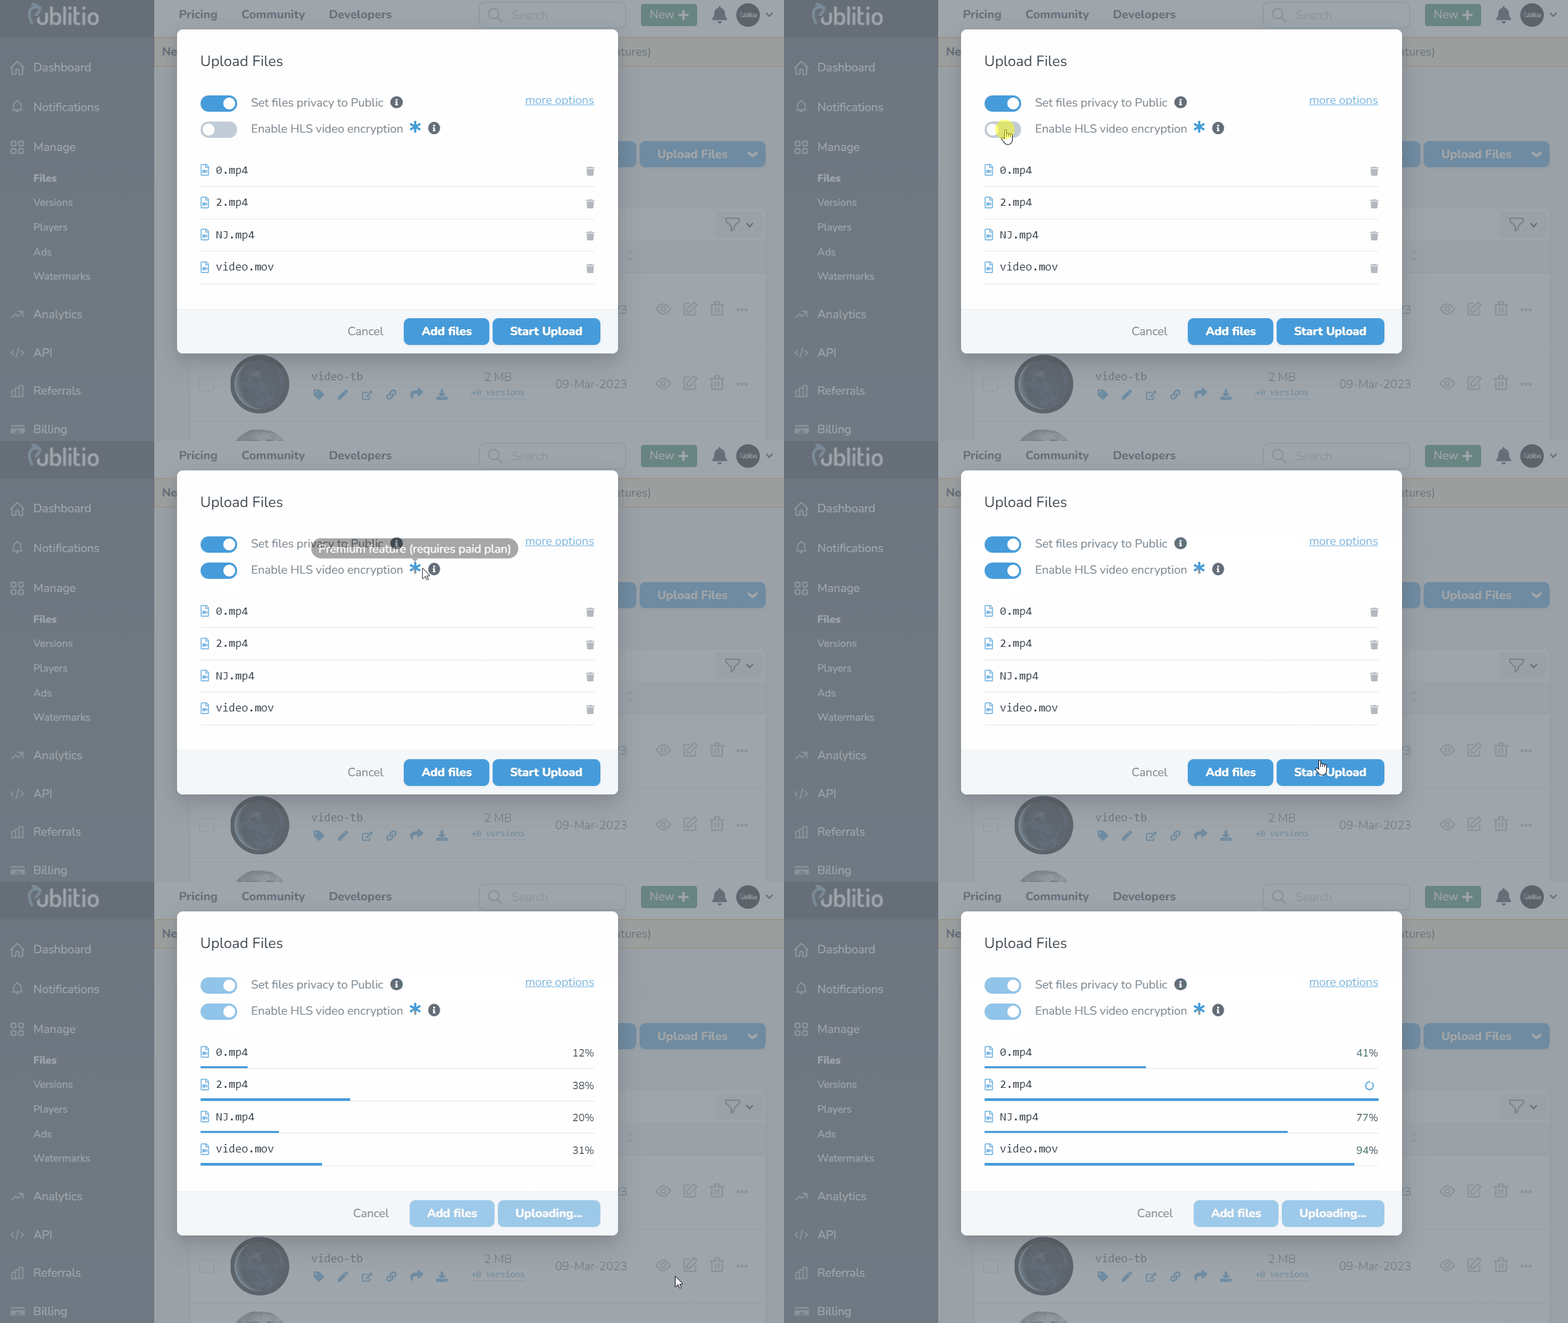
Publitio offers GPU video processing as a part of it media stack. Get Publitio Free Account, simply upload videos via Publitio Dashboard and voila - your videos will be processed in no time and ready for streaming and embedding. All of this without complexity of installing FFMPEG, CUDA Drivers or configuring GPU graphic cards. Like we like to say, don't reinvent the wheel by building in-house media processing solution - Publitio allows you to save time by focusing on core of your business, while we do all the heavy media related workflow.
 Uploading Videos via Publitio Dashboard
Conclusion
With GPU acceleration and FFmpeg in your toolkit, you can conquer even the most demanding video conversion tasks with ease. This powerful combination not only saves time but also opens up new possibilities for working with multimedia content. Whether you're a content creator, a media professional, or just someone looking to convert videos efficiently, GPU-accelerated video conversion with FFmpeg is a game-changer.
As technology continues to advance, expect GPU acceleration to become even more prevalent in multimedia workflows. Stay updated with the latest FFmpeg releases and NVIDIA GPU capabilities to make the most of this exciting feature.


