
Long awaited Publitio Wordpress Plugin has been released. In this post we will show you how to integrate Wordpress website with Publitio platform via this simple plugin for image & video asset management in the cloud.
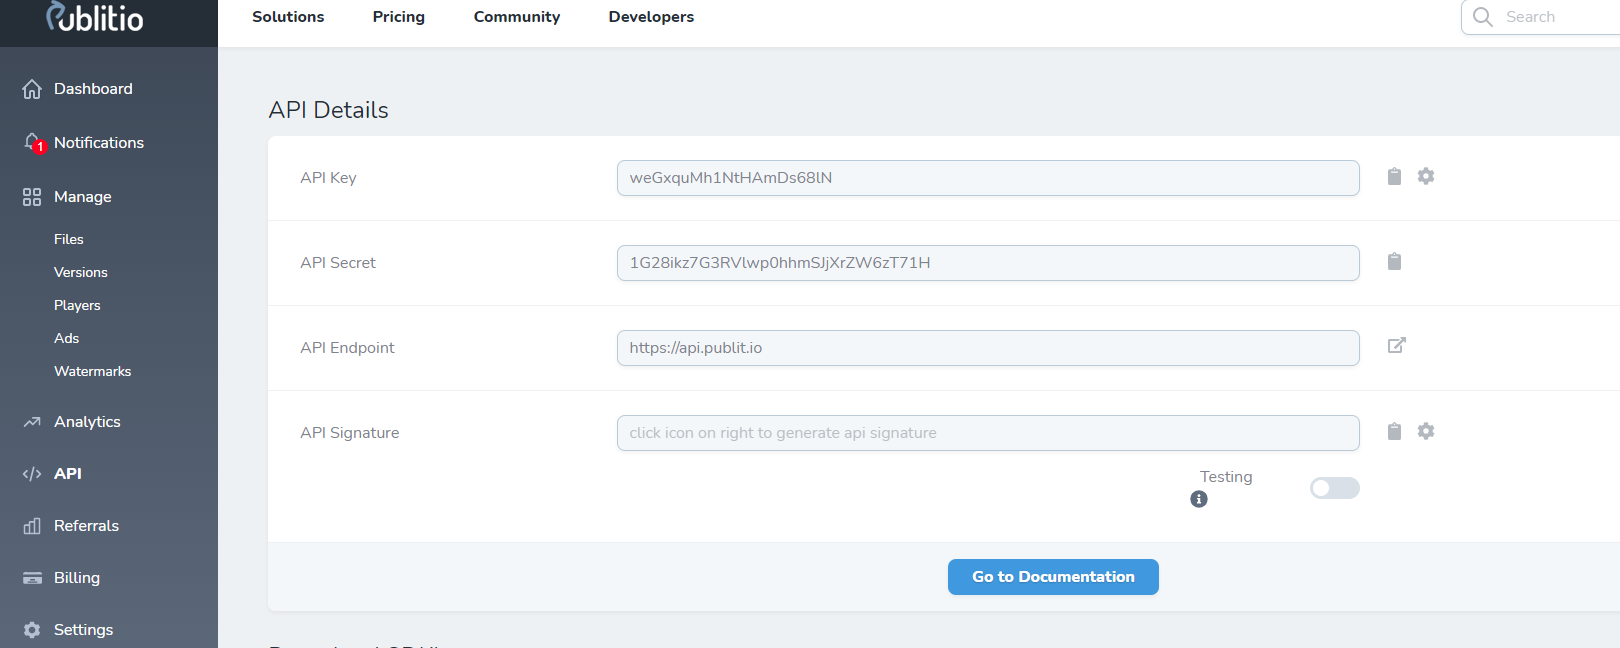
1. Create Publitio Account
If you didn't do it already, please create Publitio Account and write down your API & Secret keys from Dashboard (you will need them later to complete plugin setup)
2. Install Publitio Wordpress Plugin on your website
This step assumes you already have a website with working WordPress installation. Once at your WordPress admin part go to Plugins section and click on Add New. Then you can search for keyword: publitio
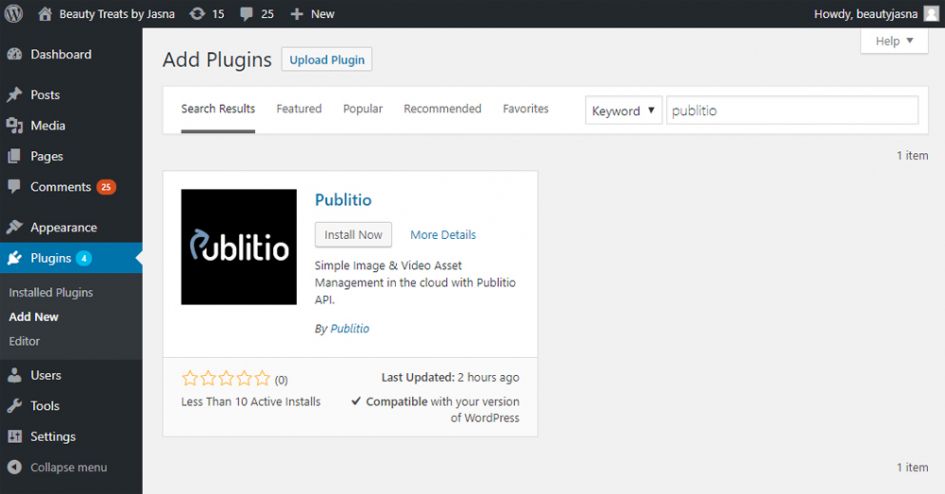
After that it's pretty simple, click on Install Now and after that remember to Activate plugin. Alternatively you can download publitio wordpress plugin and install it manually by copying content of zip file to /wp-content/plugins/ directory.
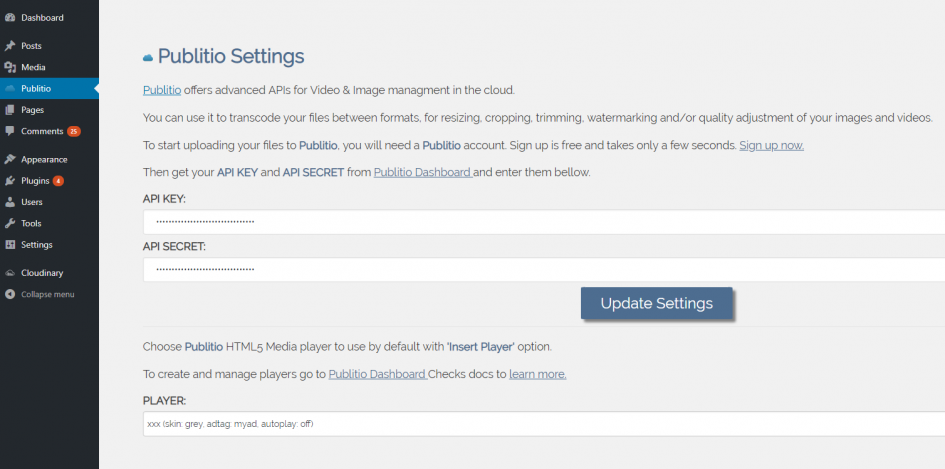
3. Setup Publitio Wordpress Plugin
Next step, please visit Publitio Settings page by clicking on the Publitio in the dashboard menu. Here you will need to paste you API & Secret keys. Once entered, remember to click on Update Settings button (this will populate your Player select box - more onto that later)
4. Upload files and insert them into posts/pages via Publitio plugin
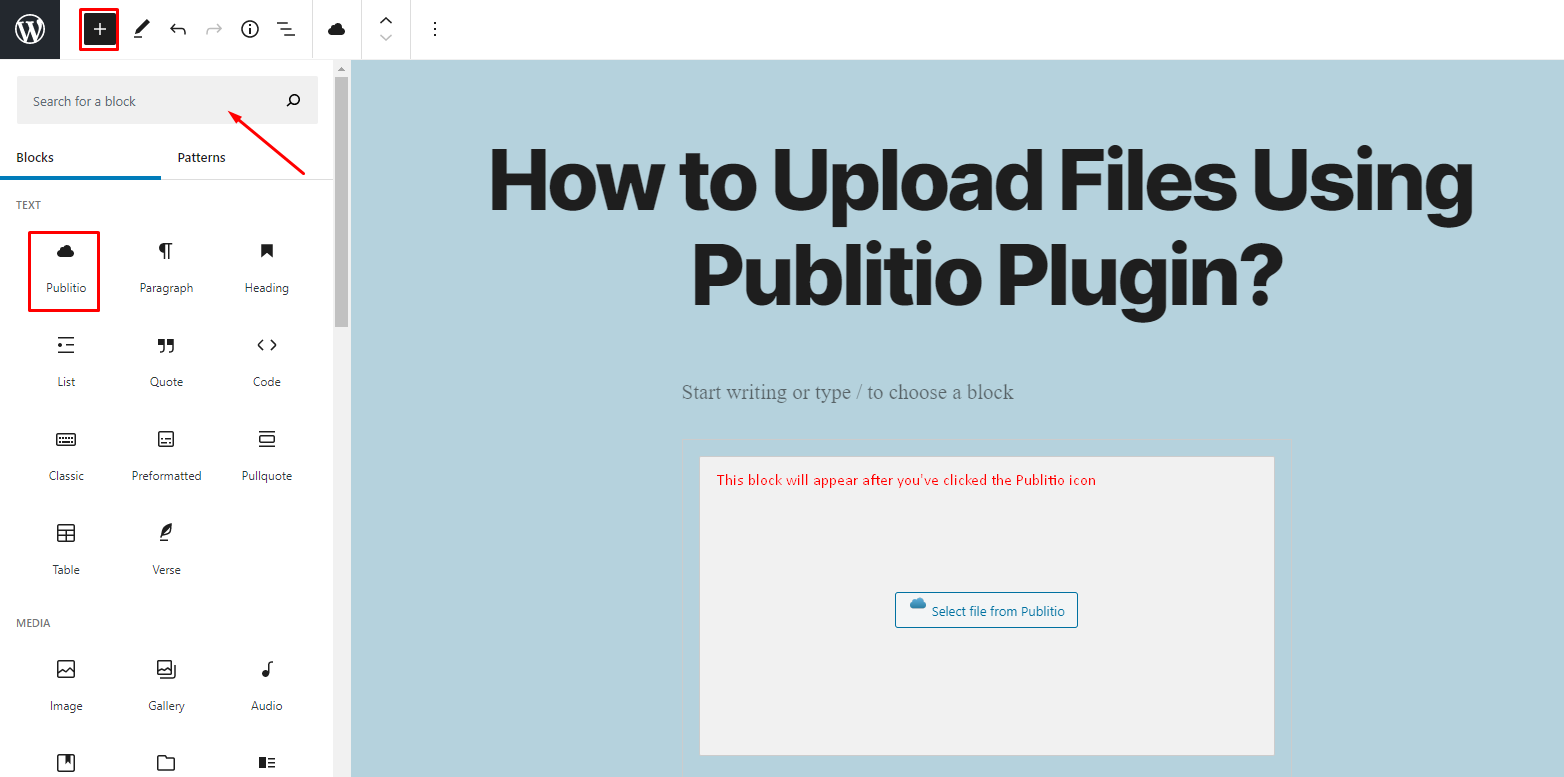
Add new or edit existing posts & pages. Within the editor, find the + icon and click it. Search for Publitio. Once Publitio is selected, a block will appear where you will have the possibility to directly upload new images & videos to Publitio.
After clicking the "Select file from Publitio", a new window will open with all of your files currently stored on Publitio. Also, you can use it to upload new files from your device directly to Publitio.
Select the desired way of inserting the file onto your page/post.
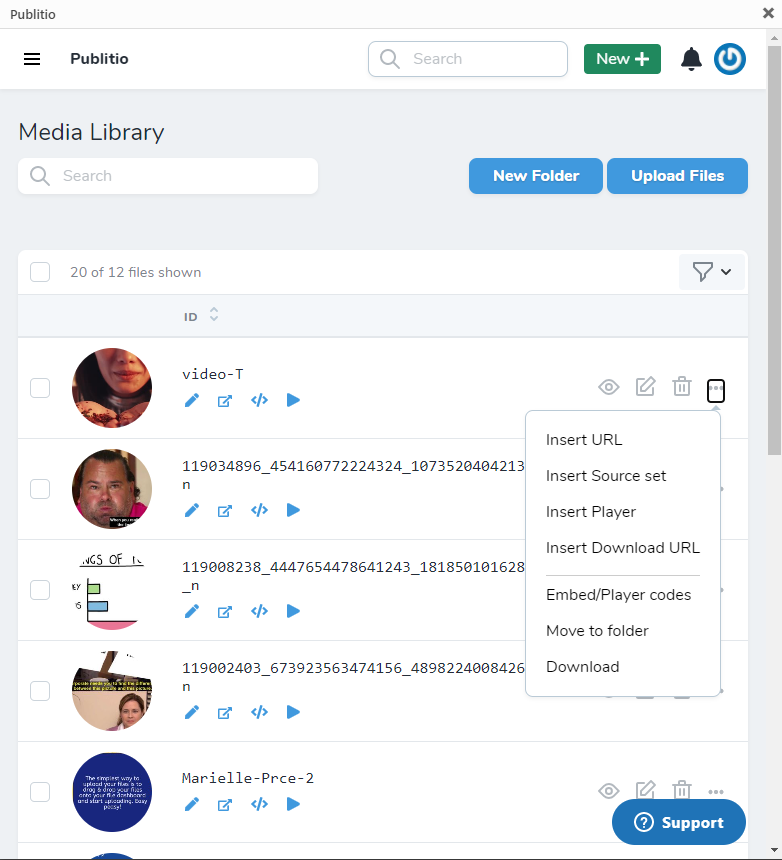
Insert Source option will add formatted html5 markup for optimized images & video delivery. Images will have srcset in place, that will display different versions of optimized images depending of end viewers device. Videos will have predefined src for webm, mp4 and ogv formats, ready to be streamed by internet browsers .
Insert Player option will add formatted html that contains Publitio Media Player. This is very useful option if you want to publish your videos directly with nice looking video player and must have option if you would like to run ads within your media.
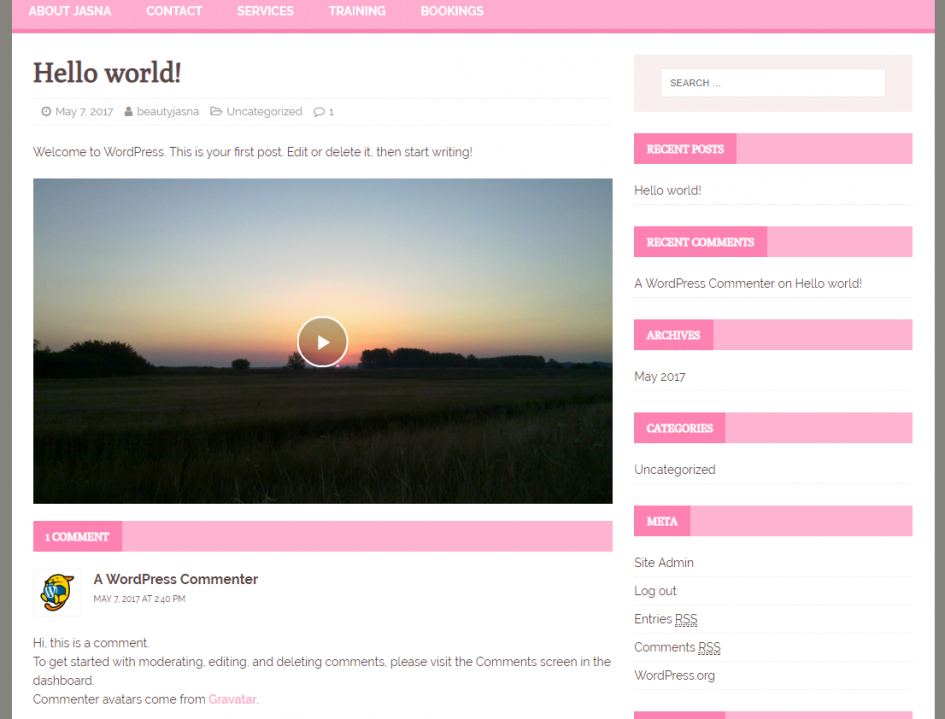
5. Preview changes and publish your images & videos to the world
Final step, preview changes you have made. If you are satisfied with result you can publish your post instantly and whole media workload (from hosting, delivery, transcoding, optimization, etc.) will be handled by Publitio in background.
Few words on Players...
You can easily create your custom video player via Players Dashboard. Once you create and get your player id, you can set it as default player for your wordpress website at Publitio Settings plugin page. This option is global and will affect all files that are handled by Publitio plugin.
Players are integrated part of Publitio Platform that you can use to simply wrap videos and images into html5 video player that can stream your media and integrate them with video ads
Players can be linked to Adtags (VAST & Google IMA ad tags) that when combined together can serve video ads within your media files. Best to try for yourself to see power of Publitio platform and how it's easy manage your media assets with it.
And final word on Publitio Wordpress plugin
It is working but it's still in the development. If you are into it, you can help with open source at Publitio Wordpress Plugin Source at Github


