

So you have been searching for a way to Upload Images or Video, don’t worry you are at right place and we will make sure to help you out by explaining complete process with PHP upload, and we will offer you simpler way that Publitio is offering that will save your time.
Thanks to PHP we are provided functions to handle file uploads. The standard way, includes building an HTML form that allows users to submit files, and then creating a PHP upload script to handle the files and it’s been done like this for a long time now.
There is simpler way and that is by using Publit.io API.
Publitio is a media management service that supports uploading, manipulating and managing image and video content. Publitio also provides an API for fast upload directly from your users’ browsers or mobile apps, and we will share info about other SDK's.
PHP upload with Upload Script
In order to Upload files with PHP we will needs 2 parts, HTML code in Index file and PHP script that will communicate with server. Make sure that you have access to PHP server or if you don’t have one you can create LocalHost server by installing XAMPP Apache + MariaDB + PHP + Perl
HTML Index file for file Upload
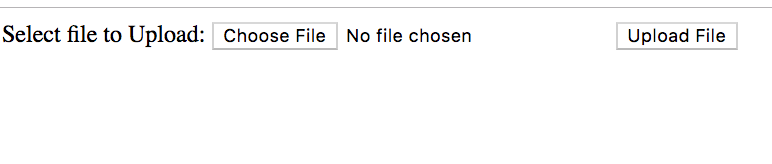
You will need an HTML form that will contain the fields that the user will interact with to upload a file. Create an index.html file in your root directory and add the following HTML code to it:
Upload a File:
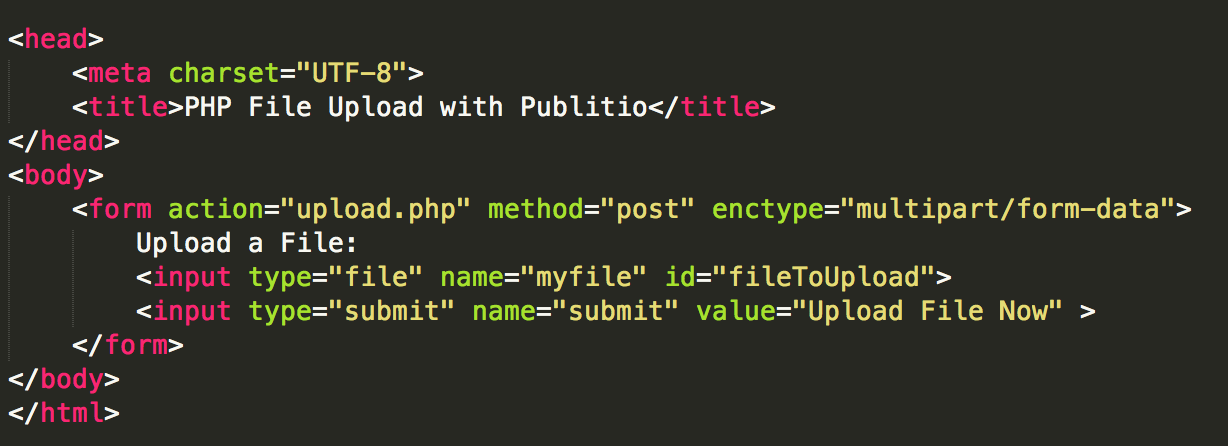
In the code sample above, we have a form with one input field and a submit button. The form tag has an action type that points to the script that will do the actual upload process. It also has a method type that specifies the kind of operation this form will undertake, which is a POST action.
One value to take a look at is the enctype attribute and it’s very important. Enctype determines the content-type that the form submits. If we were not dealing with file uploads, then we would not specify the enctype attribute on the form in most cases.
As we said for this example to work we will need to have PHP server we will use LocalHost so you can follow tutorial without any problems, if you haven’t downloaded and installed XAMPP you can do it now here is download XAMPP
Depending of your system select appropriate version and start install process. After you install XAMPP you will need to run it in order to have access to localhost.
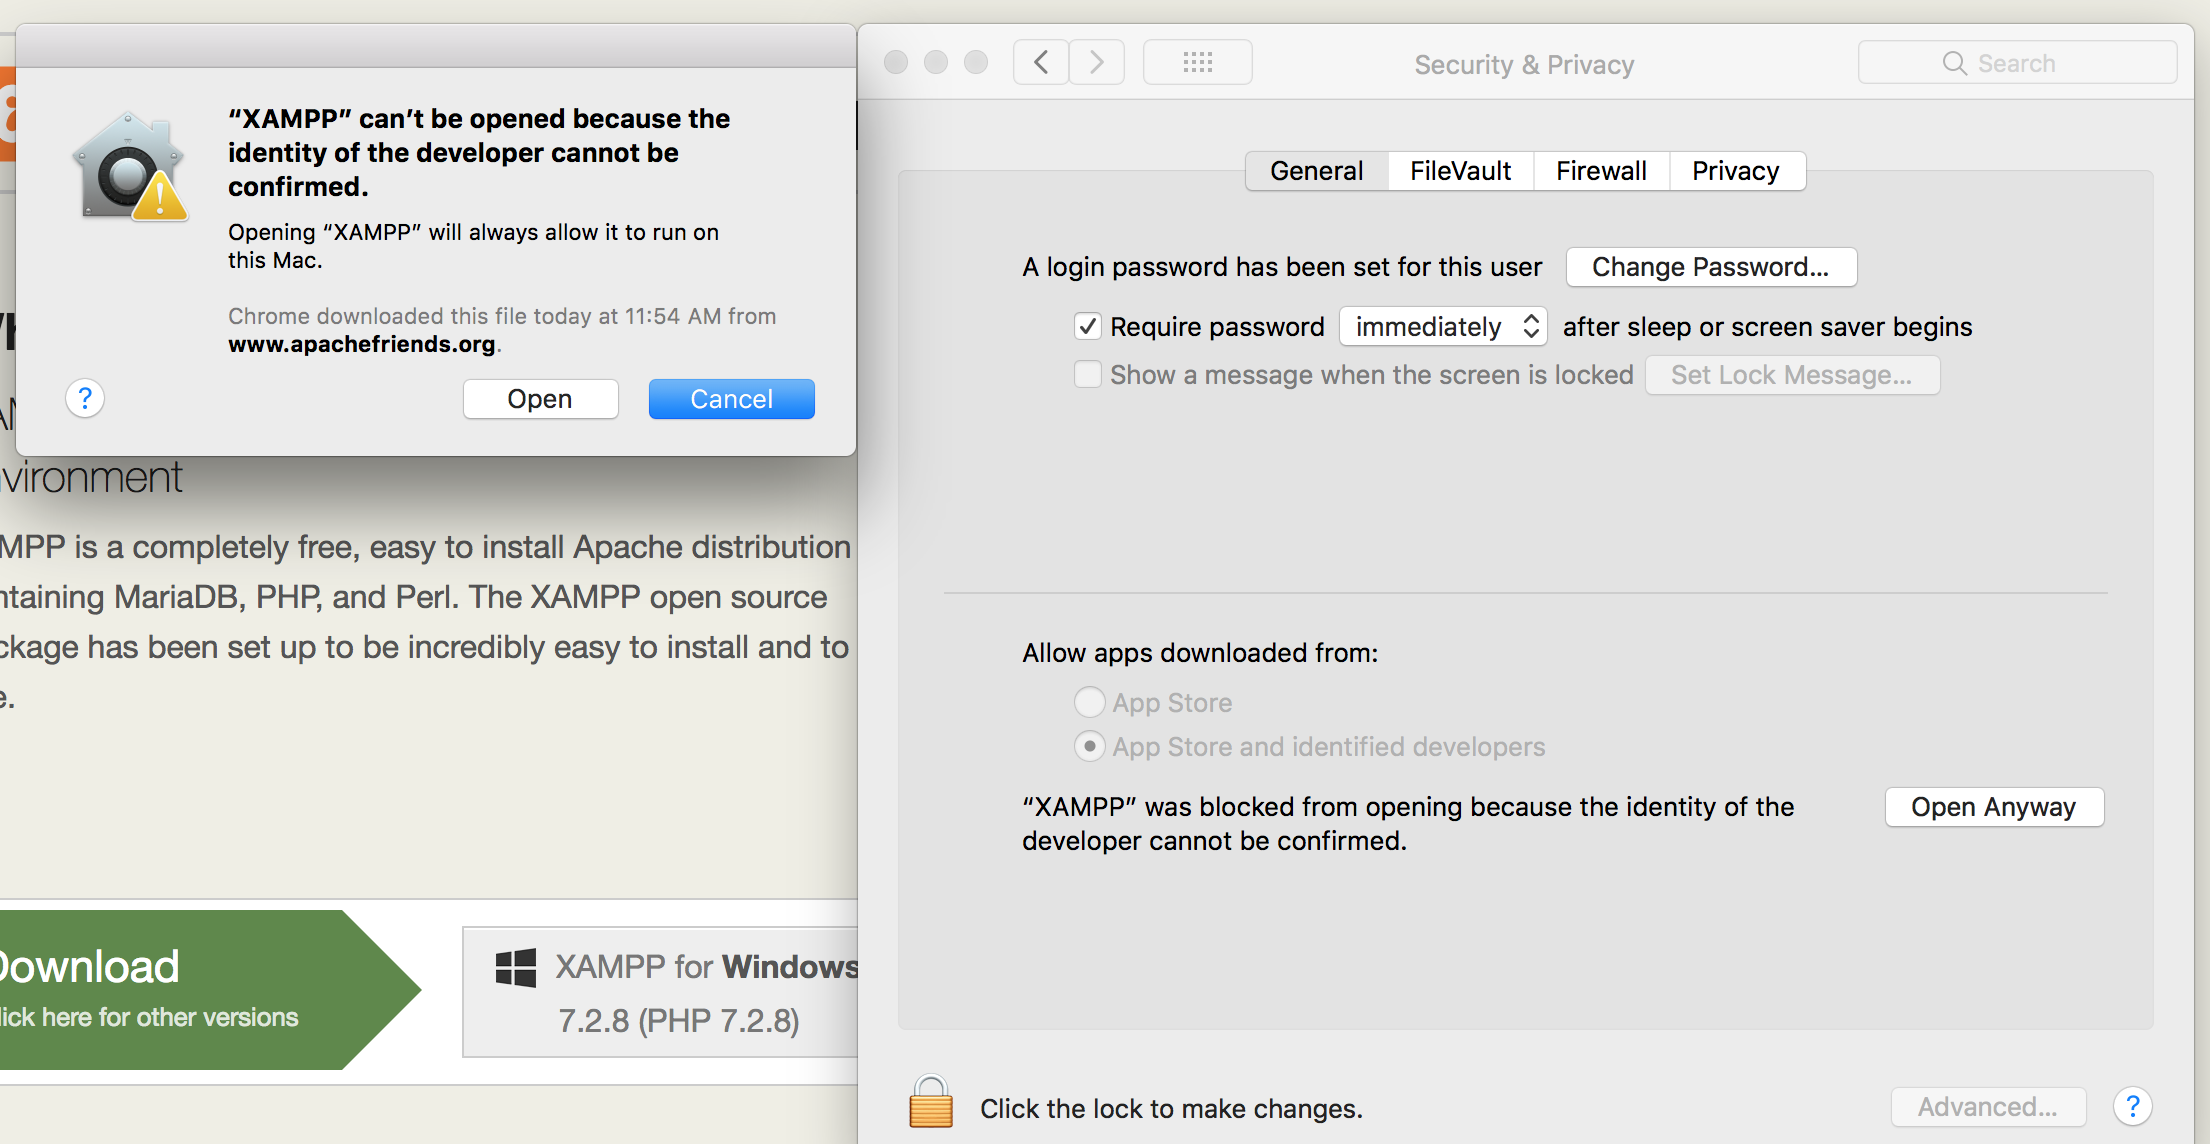
If you are using OS X you might have problem installing, reason for that is that Developer signing is not present and you will need to go to Settings & Privacy and manually click Open Anyway XAMPP.
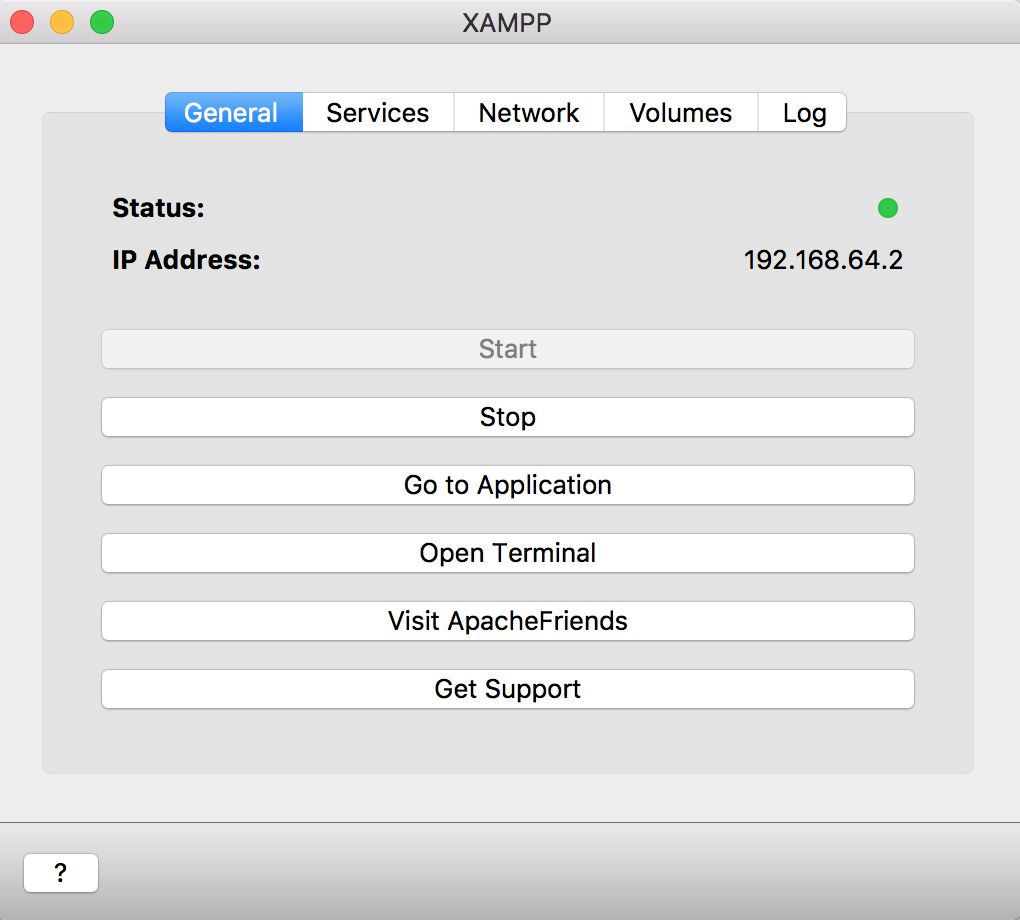
Now click START and in few seconds you should see your IP Address
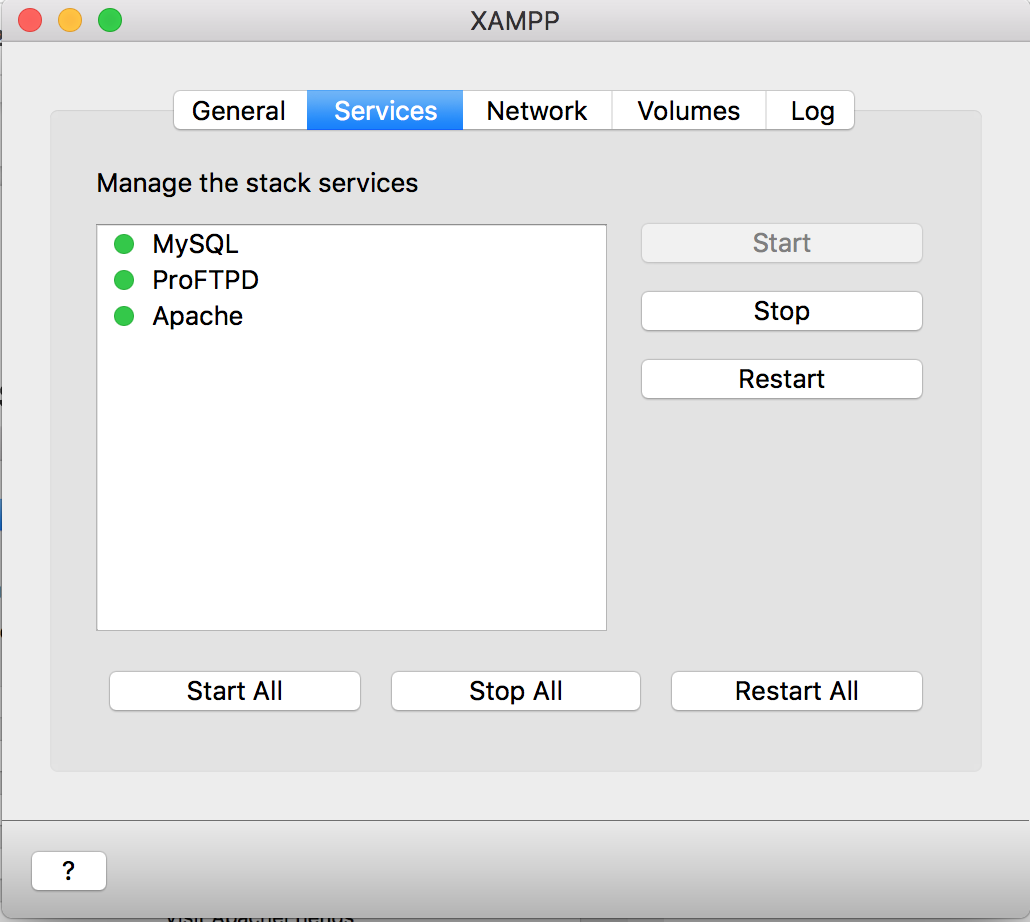
In Services tab you will see what services are running
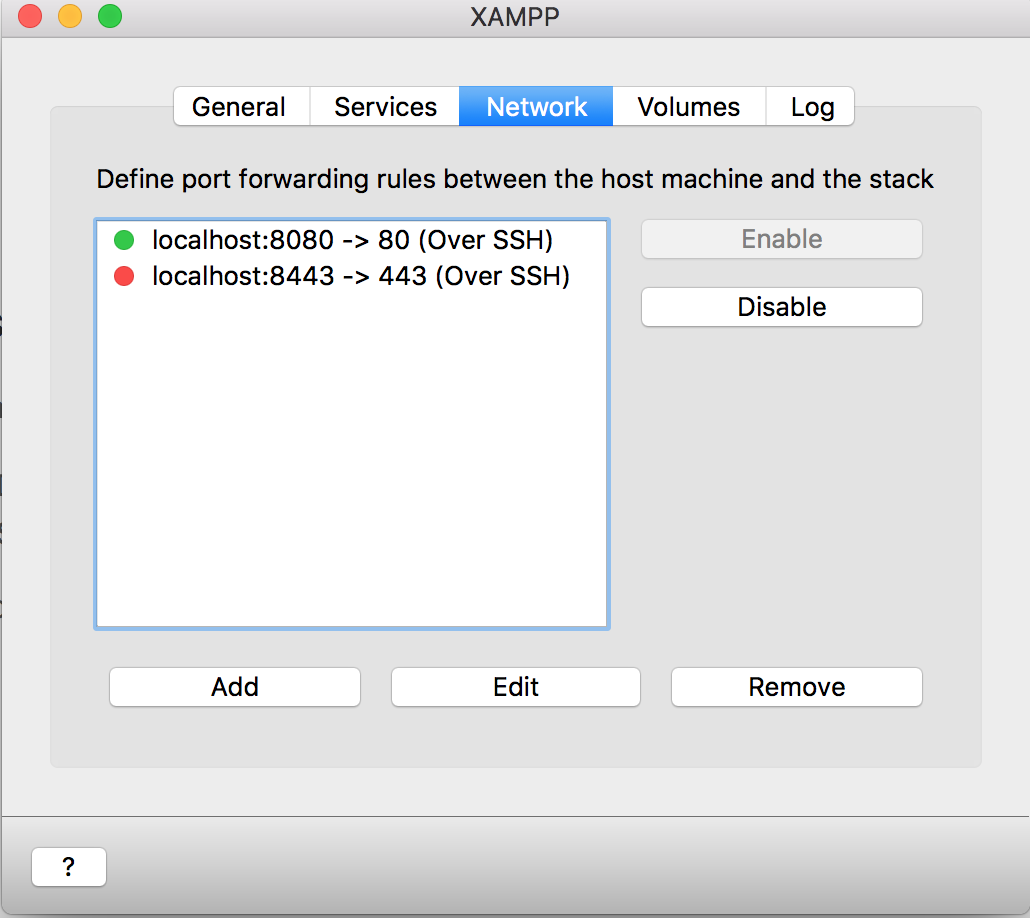
Click on Network tab and make sure to Enable port forwarding.
Excellent that’s it now you can visit sample page by going to http://localhost:8080
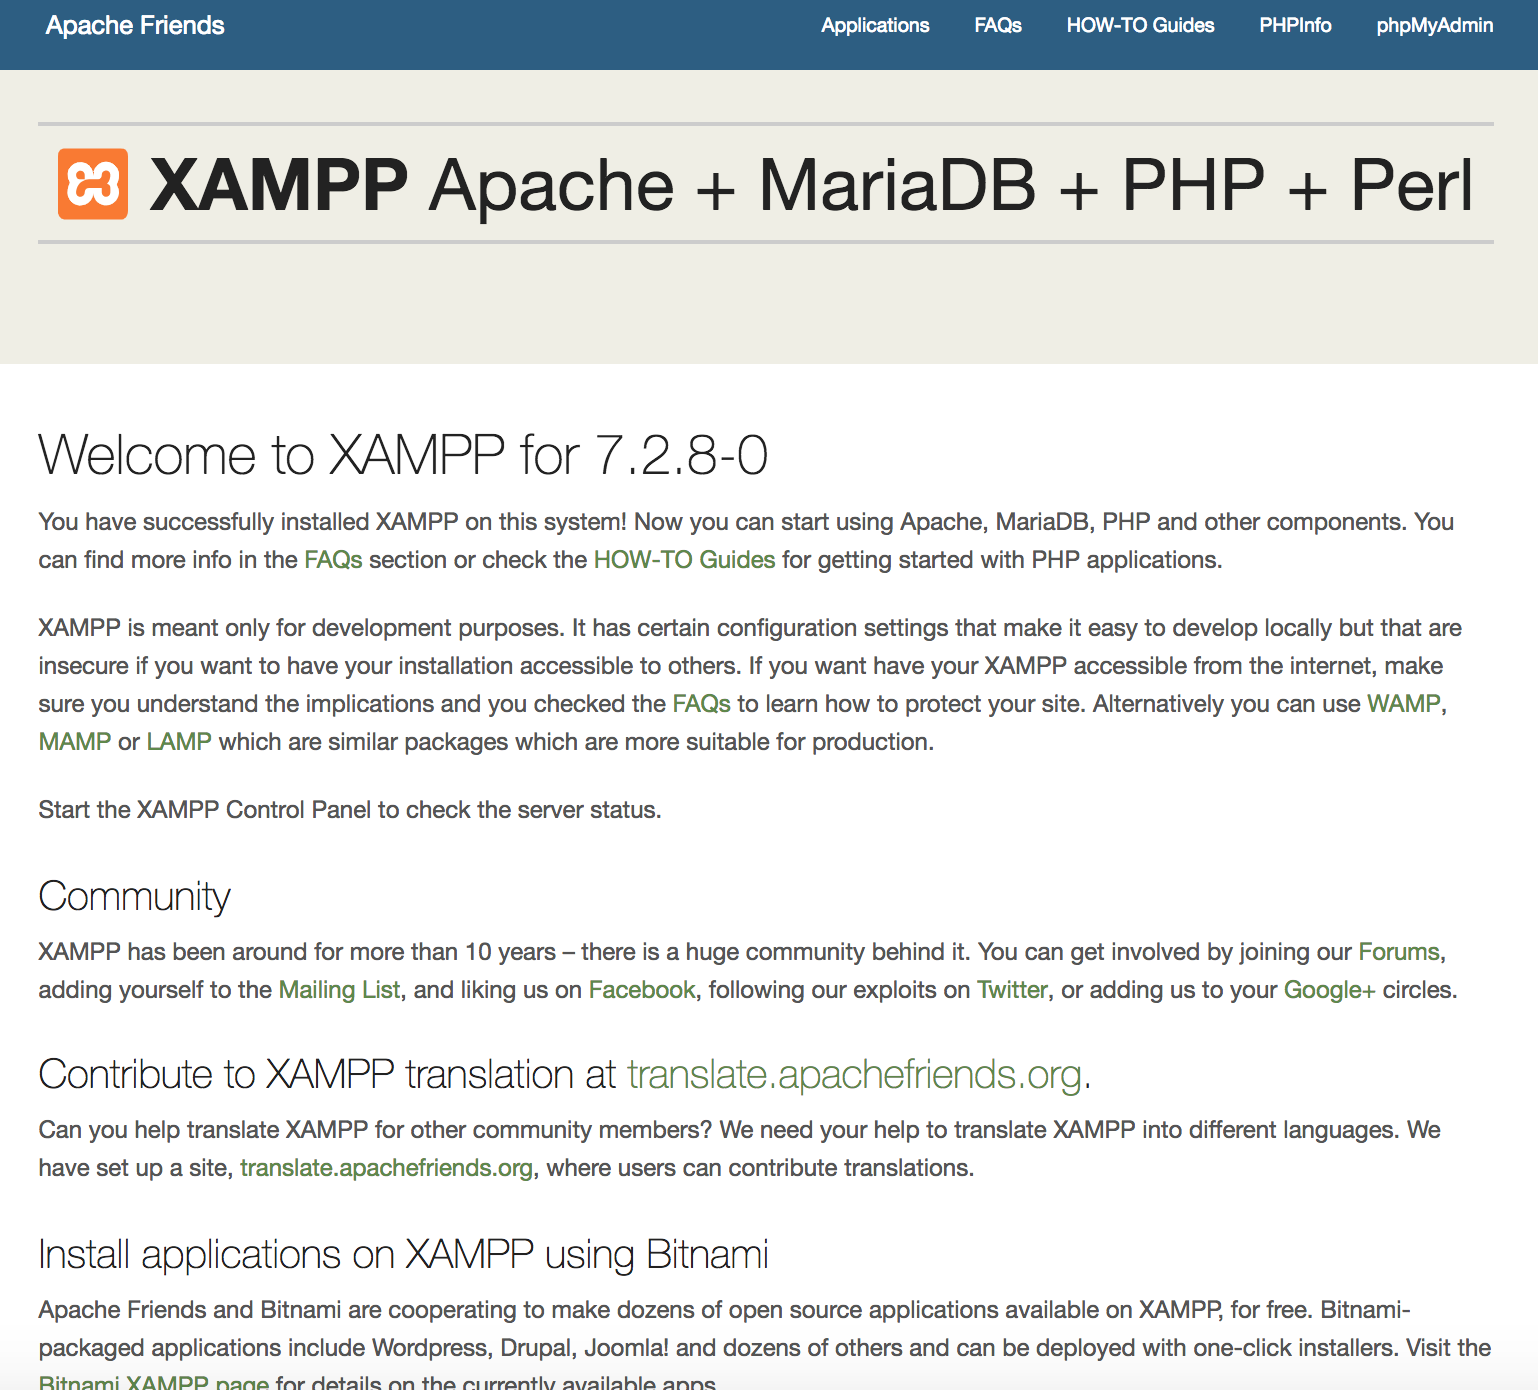
If you did all right above landing page should be visible.
Clicking phpmyadmin might take you to error page since it might use IP address make sure to access phpmyadmin via http://localhost:8080/phpmyadmin/
All set we are now ready to work on the project.
While still in XAMPP click on tab “volumes” and make sure to click “mount” it will connect this folder to your localhost path click explore and find folder httpdocs that is root folder for your project, create folder and send shortcut to it on a desktop.
To access your website visit localhost:8080/publitiophpupload/ or whatever is the name of your website (folder) and magically it will show!
Congrats you are one step close to uploading your first file!
2. Script for PHP Upload
Next step building a script for PHP upload.
There are of things to decide when dealing with file uploads.
In which folder will the files be saved/stored?
Does that folder have right writing permissions (CHMOD sudo chmod -R 777 uploads/ on OS X)?
What type of files should the users be allowed to upload?
What types of browsers you want to support for upload?
What is the maximum upload file size (most servers have default 2mb)?
Should the user be allowed to upload the same image more than once?
How are you going to rename files?
Should Images and Videos go in to same folder?
Will you generate thumbnails and to which folder are they going to go to?
Now when you asked yourself this questions let’s continue by creating a file, upload.php, in the root directory and add this code to it:
Now when we have it done we can continue!
Put all the files in folder, navigate to localhost:8080/myprojectlocation/ and you should have Upload form ready to work!. Select file and upload it.
Let’s understand what is going on in the code.
$fileName = $_FILES['myfile']['name']; Original name of the file
$fileSize = $_FILES['myfile']['size']; How big is file that we are uploading
$fileTmpName = $_FILES['myfile']['tmp_name']; This is the temporary uploaded file that resides in the tmp/ directory of the web server.
$fileType = $_FILES['myfile']['type']; This refers to the type of the file. Is it a jpeg or png or webp file?
$fileExtension = strtolower(end(explode('.',$fileName))); This grabs the extension of the file and checks if it can be uploaded.
$uploadPath = $currentDir . $uploadDirectory . basename($fileName); This is the path where the files will be stored on the server. Place for all files to live on.
In the code, we are checking to ensure that only jpeg, png and webp files can be uploaded. Webp format is format optimized for web browsing and we recommend to use it for your projects since you can save up to 10x in file sizes.
The code above also checks that maximum file size is 2mb and after file is uploaded to temp folder it is moved to Upload folder.
Handling File Upload With Publitio
Now we come to fun part! Publitio is Video and Image API and as such it provides API for Uploading images and videos to cloud. These files are safely stored in the cloud with secure backups and files are geo distributed in order to protect them and to speed up delivery for users.
Pubilitio is free for everyone and you can store up to 10GB of storage and we give you up to 20GB of bandwidth for your images & videos. We have no other limits! If you ever outgrow free package we offer low priced package at 29$ for 50gb of storage and 200gb of bandwidth.
Publitio already takes away the pain of having to write large amounts of code to interact with API by providing an open source PHP library that is available on our Github and it provides API calls that you can utilize instantly.
With API you can handle
- Image or Video uploading
- Image and Video administration with thumbnail generation option
- Embedding images and videos in to the website
- Building URLs for image and video transformation and manipulation
The process is this simple!
So in order to start you will have to create Publitio account (as we said it’s free)
When you sign up you will have access to Dashboard.
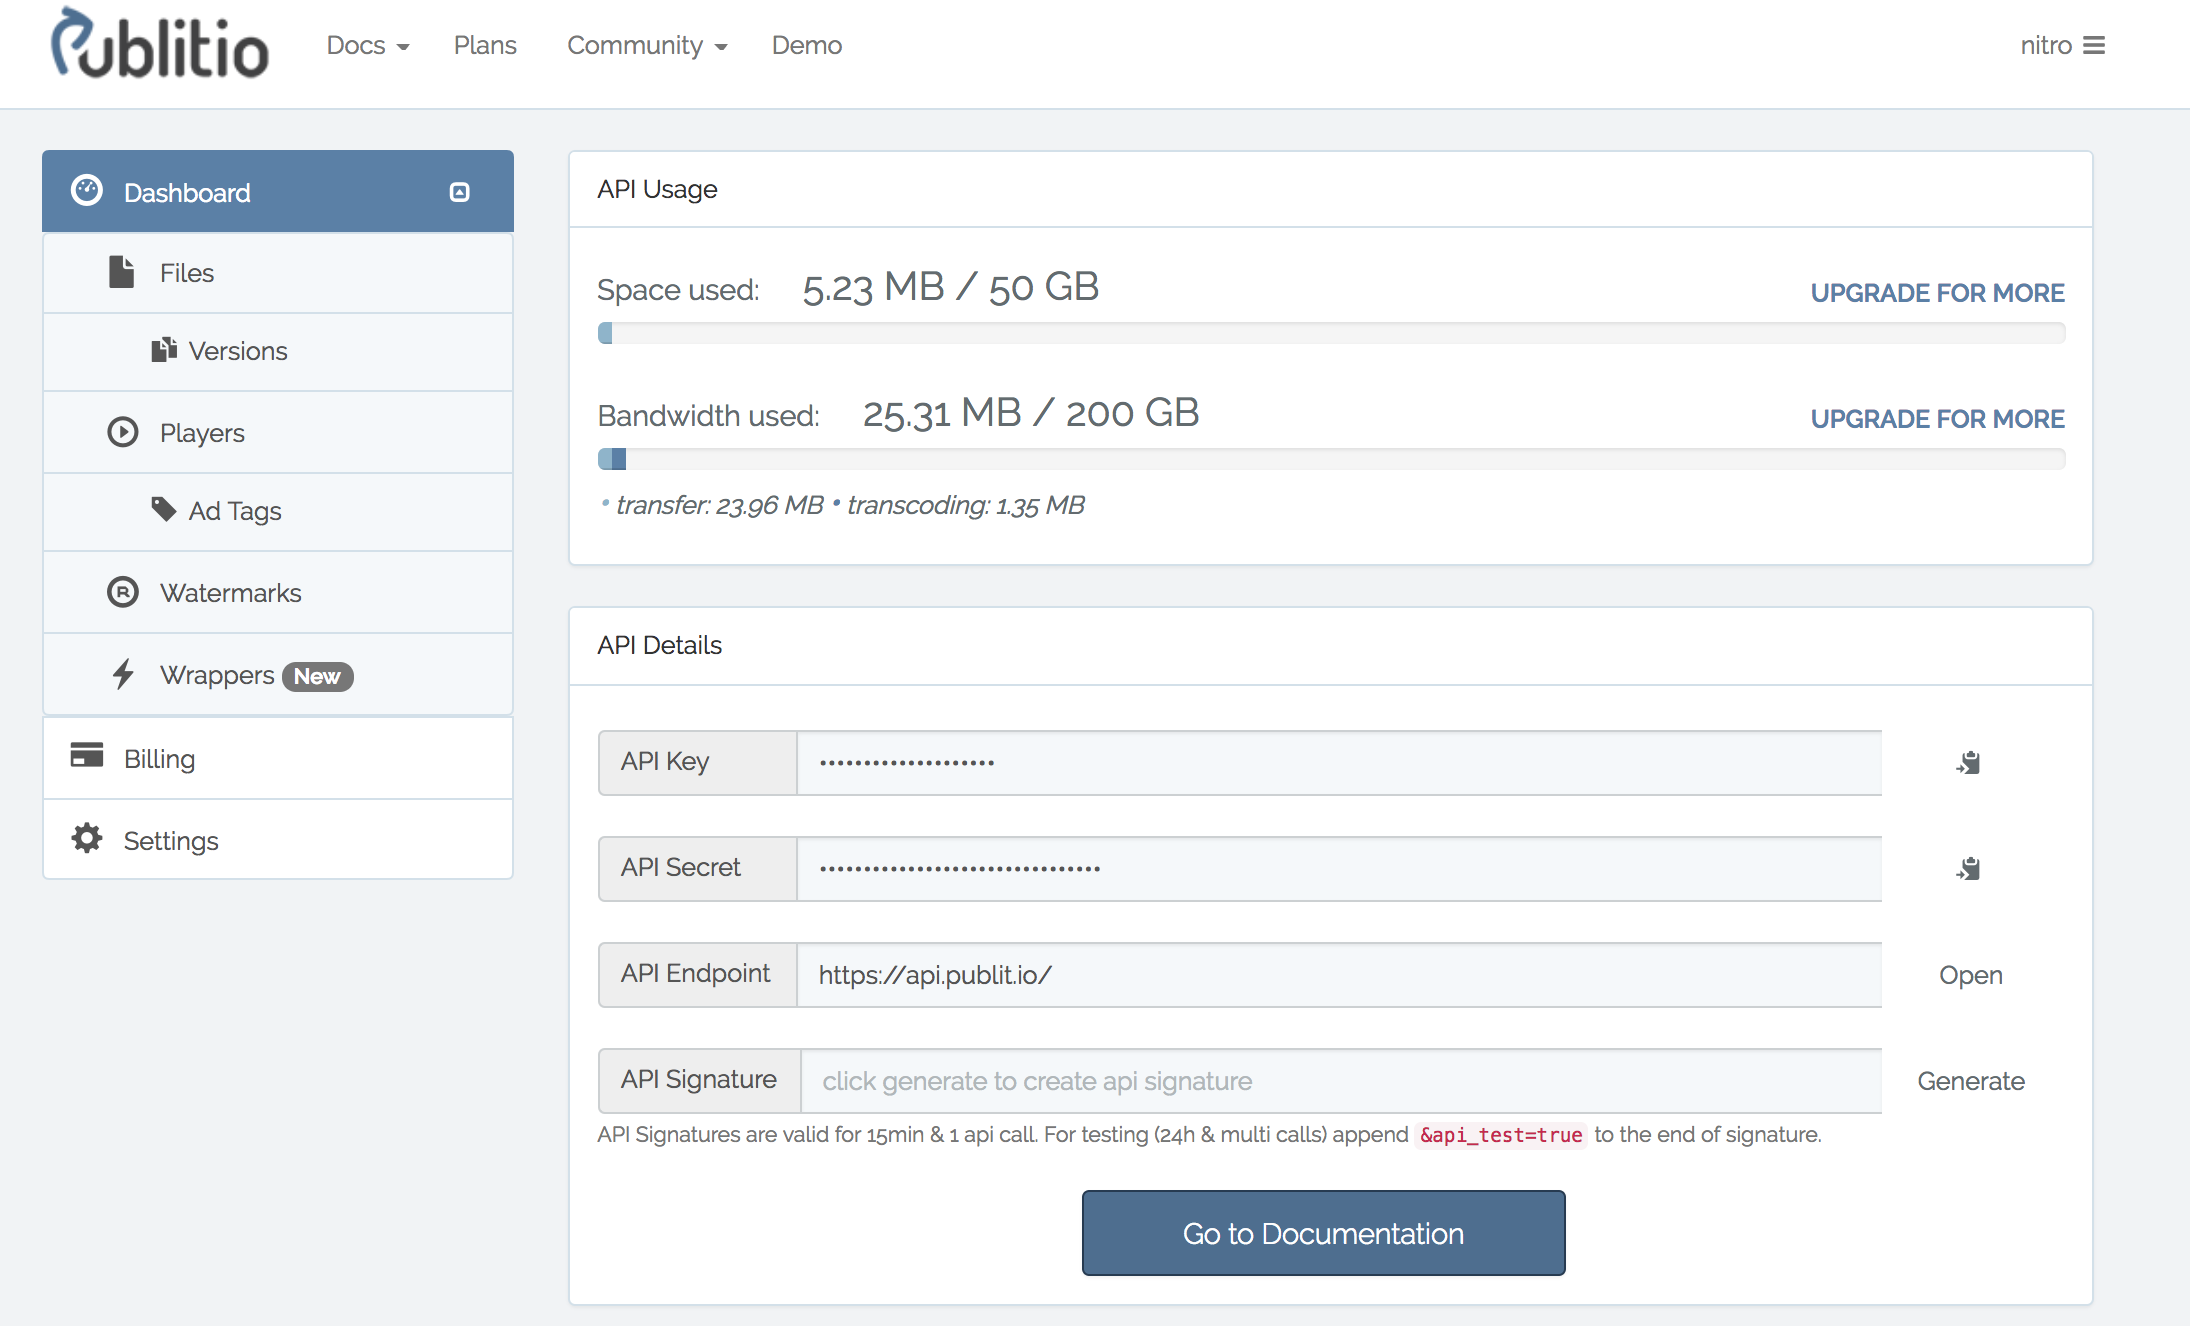
As you can see you can see your usage right on top of the Dashboard and all details about you API Key and API Secret key.
After you get them you will need to download PHP SDK library and add it in to your project. Library can be found on our Github account.
Publitio API script is the one you will need to include in your project in order to work.
You can check examples script and comment and uncomment functions that you want to see response to.
In order to build your own script you will need to include publitio_api.php
require_once('publitio_api.php');
// Please update xxxx with your key and yyyy with your secret
$publitio_api = new PublitioAPI('xxxx', 'yyyy');
Here is sample code of Upload with Publitio but you can always write your own.
header('Content-type: text/plain; charset=utf-8');
require_once('publitio_api.php');
// Please update xxxx with your key and yyyy with your secret
$publitio_api = new PublitioAPI('XXX', 'XXX');
$errors = []; // Store all possible errors here
$fileExtensions = ['jpeg','jpg','png', 'webp']; // Show only this extensions and make sure we upload only them
$fileName = $_FILES['myfile']['name'];
$fileSize = $_FILES['myfile']['size'];
$fileTmpName = $_FILES['myfile']['tmp_name'];
$fileType = $_FILES['myfile']['type'];
$fileExtension = @strtolower(end(explode('.',$fileName)));
if (isset($_POST['submit'])) {
if (! in_array($fileExtension,$fileExtensions)) {
$errors[] = "This file extension is not allowed. Please upload a JPEG or PNG file";
}
if ($fileSize > 5000000000) {
$errors[] = "This file is more than 5GB. Sorry, it has to be less than or equal to 5000MB";
}
if (empty($errors)) {
$response = $publitio_api->upload_file($fileTmpName, "file");
print_r($response);
} else {
foreach ($errors as $error) {
echo $error . "These are the errors" . "\n";
}
}
}
?>
For upload call Publitio will return JSON response and it looks like this
{
"success": true,
"code": 201,
"message": "File uploaded",
"id": "7y0voQAv",
"public_id": null,
"title": "phpt61Cv",
"description": "",
"tags": "",
"type": "image",
"extension": "png",
"size": 33648,
"width": 560,
"height": 327,
"privacy": "public",
"option_download": "enabled",
"option_ad": "enabled",
"option_transform": "enabled",
"wm_id": null,
"url_preview": "https:\/\/media.publit.io\/file\/7y0voQAv.png",
"url_download": "https:\/\/media.publit.io\/download\/7y0voQAv.png?at=eyJpdiI6Il...",
"versions": 0,
"hits": 0,
"created_at": "2018-09-03 13:15:40",
"updated_at": "2018-09-03 13:15:40"
}
Now that you know how to upload files why not try yourself!
Here is the link to sample Upload project we wrote both standard PHP and Publitio way.
Now when you know how to all this it's time to create Publitio account and give it a try! Here is link for you to register


