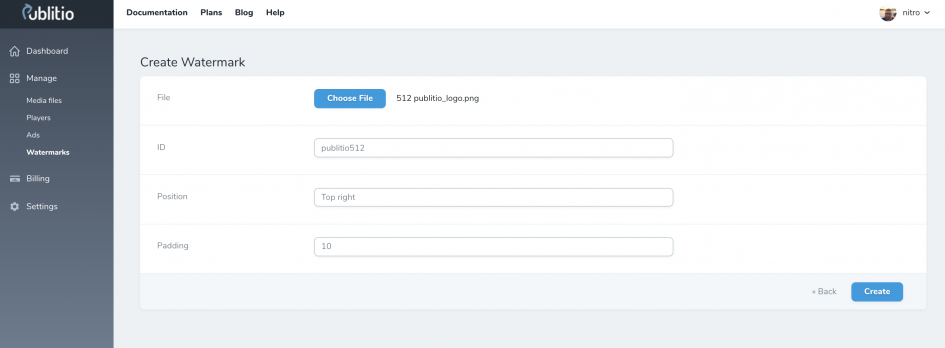
Create watermark
 Create Watermark page
Apply watermark on image or video via Dashboard UI
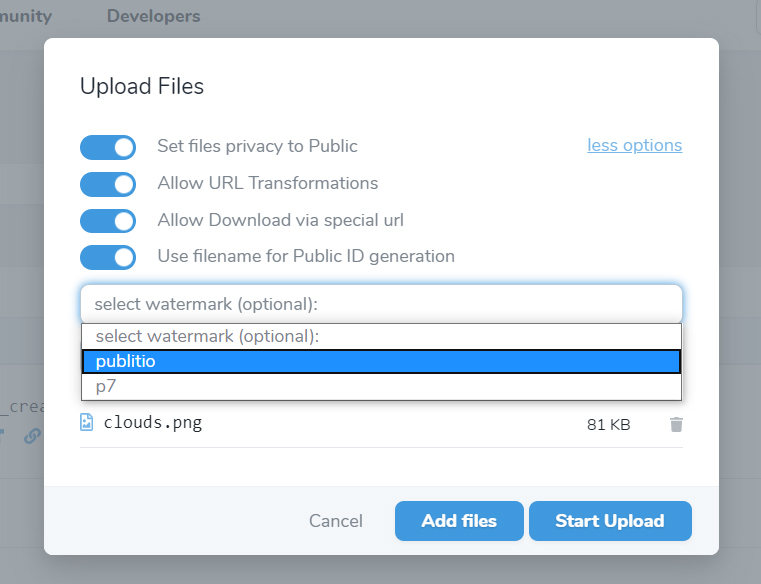
Easiest way to apply watermark on an image or a video is while uploading file to Publitio. This guarantees that all future versions you create from this file will include this watermark on them by default. You can also set watermark by editing existing file (look for watermark select box).
 Apply watermark via Dashboard UI
As soon as upload is done and you get your file preview URL you can see watermark in action (top right corner):
 Applied watermark on image
Apply watermark on image or video via URL-Based API
 Applied watermark on image via wm_p7 option
Notice the wm_p7 part in the URL (p7 is name/ID of our previously created watermark). This will not only overwrite originally set watermark, but will allow you to add different watermarks on each of your uploaded images and videos. Read more about URL-Based Transformations . Happy watermarking :) !
And for those who want it little bit easier we have created video tutorial that you can watch in action how we create and apply watermark on content:


