

Building stuff with Publitio is a walk in the park.
The fact that you don’t have to worry about storage, uploading, validating, converting and handling the files is such a relief.
In fact, in the simpler projects (like the one we are building here) we don’t even need a database either.

First of all, let’s get a general idea of what we are trying to build.
At the end of this post we should end up with a simple web page that will allow us to upload any image file to our Publitio account and display all of the uploaded images in a gallery.
We will be using only php, html and some css.
The software I will be using is VS Code editor and composer for installing the Publitio PHP SDK package.
If you don’t have composer installed you can follow their official instructions.
https://getcomposer.org/download/
We will be using Publitio API documentation and a readme from Publitio PHP SDK github page as a reference.
The whole project put together will look like this:
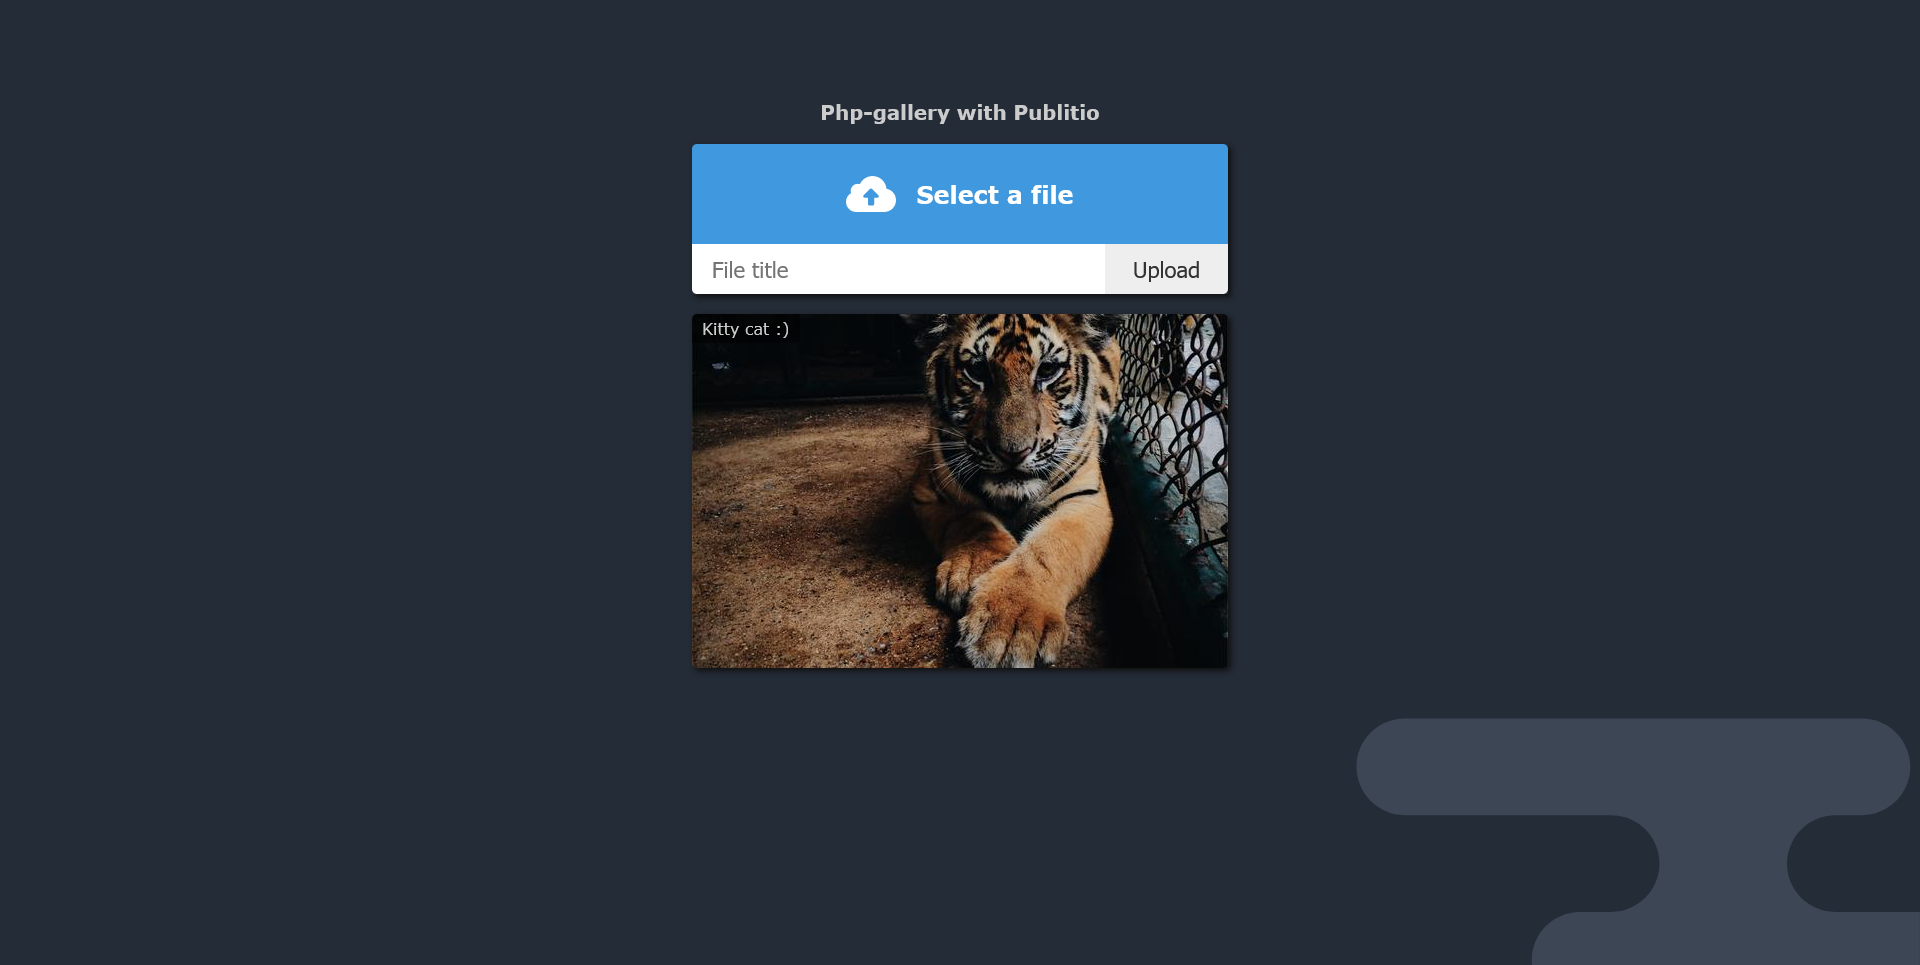
The project will be uploaded to github with well commented code so it should be very easy for you to use it for your own projects or just practice using Publitio API and SDK.
I will also be posting links to the code in the current stages of the project as I am writing this.
Alright, let's start by setting up an environment that we can work with.
Many people use Windows or iOS and there are a couple of ways to set up a good php development environment on these operating systems.
Using Wamp, Xampp or similar software makes it easy to make a virtual host and it is a nice place to start working on this project.
As for Linux fellas, I am sure you know what you are doing
Let’s start by creating two folders:
A folder on our machine where we will start building the project.
And a folder on our Publitio account where we will be storing all of our images so it doesn’t interfere with possible other projects and/or personal files.
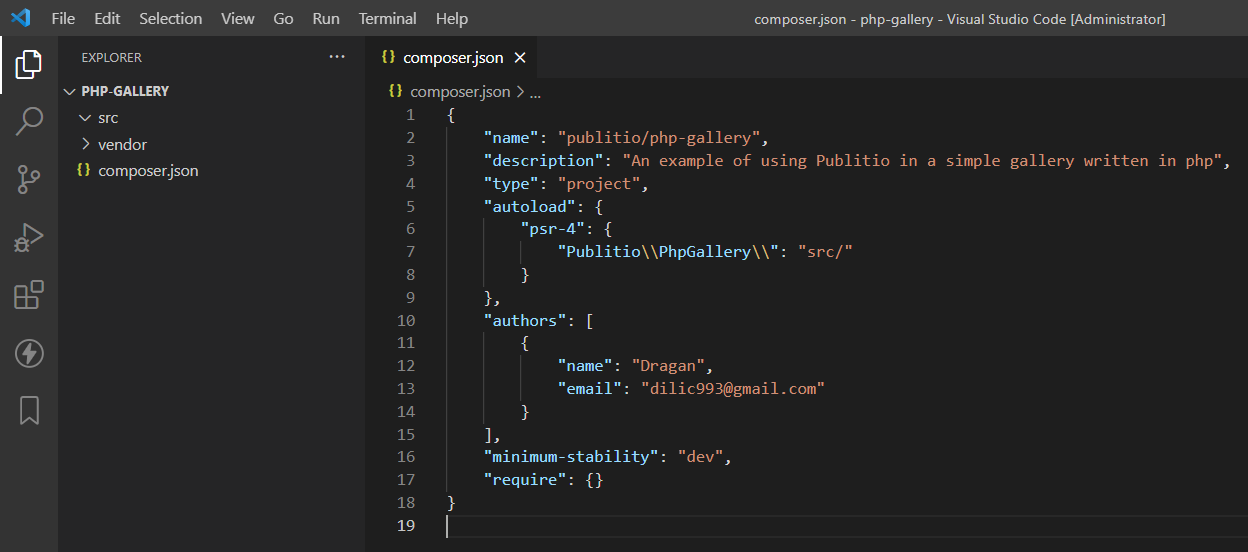
Inside our project folder we want to run command in the command line:
composer init
This command will tell composer to create a new project for us and will prompt us for some information such as our package name, description, author name, author email, minimum package stability (dev)..
After initializing composer our project folder should look like this:
Now we are able to use composer to install Publitio PHP SDK with a simple command:
composer require publitio/publitio
The command will install required dependencies for Publitio SDK and the package itself and will add a composer.lock file to our project.
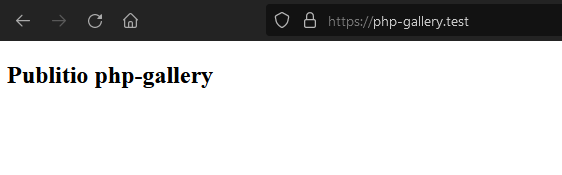
We should add a dummy index.php file to the root of our project with some simple HTML just to make sure our virtual hosting is working as expected.
If everything is working correctly we should see output like this in our browser:
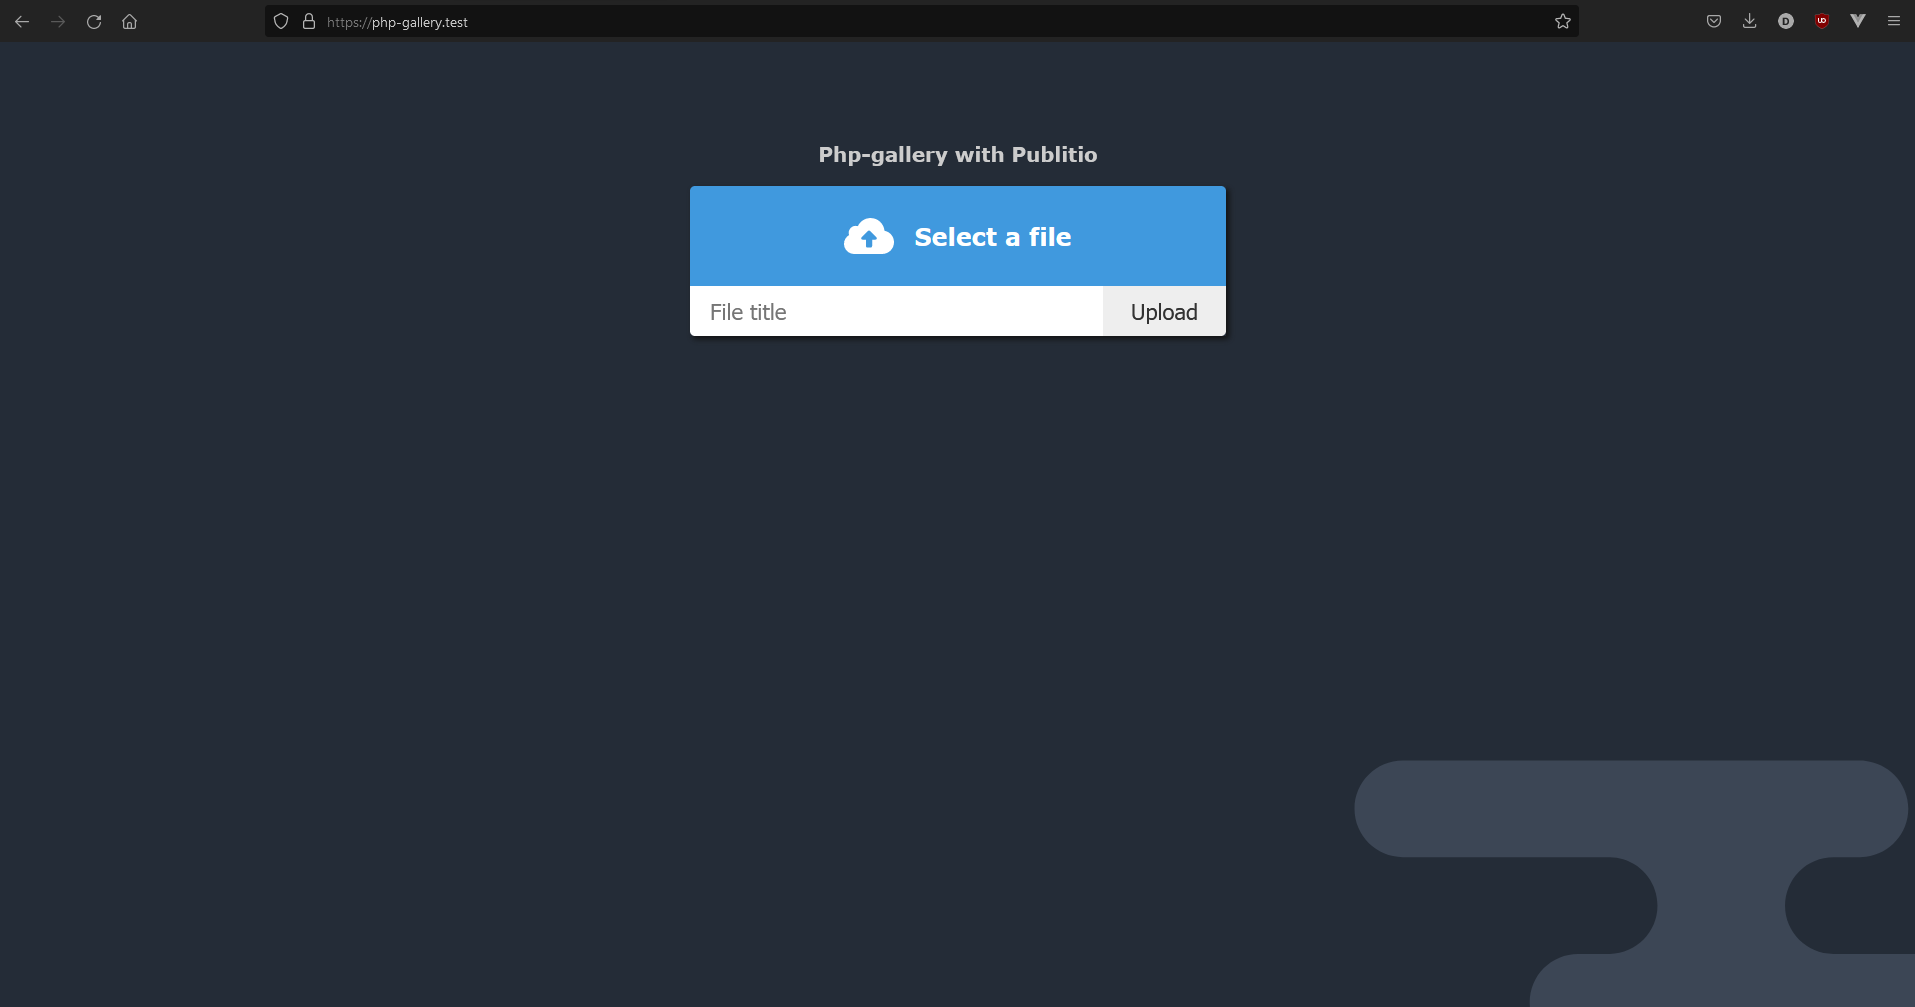
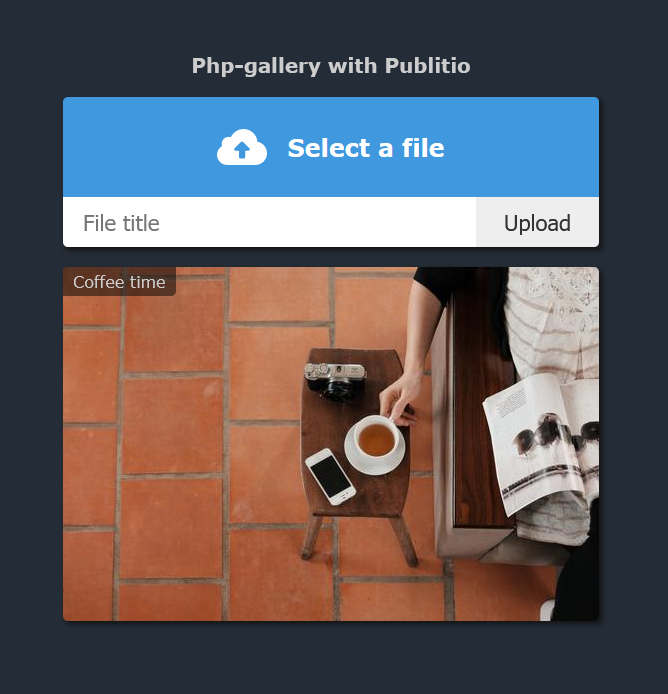
 Now that we are sure that everything works flawlessly we can continue by adding some actual HTML and CSS to our web page.
Basically we have a form with a file input, text input and a submit button, we wrap it with some HTML and use CSS to make it look even better.
Our web page should now look like this:
Now that we have some nice visuals we can start working on the php code that should be handling the form submission.
We already have set the form to have an action of:
/src/submit.php
So let's start by creating this file and adding some PHP code to it.
After we open the PHP tags, we want to specify the namespace of the file which will be:
namespace PhpGallery;
We will need to check if the file is actually accessed from our form or in some other way by checking the server request method:
$_SERVER[‘REQUEST_METHOD’]
If server request method is equal to ‘POST’ we will continue with our code, if not we will simply redirect the user to our main page:
header(“Location /”);
For security measures we will end the code with a die(); statement.
If the code is accessed from our form we will simply collect the sent data and var_dump(); it to make sure everything works. If we try to submit the form at this point we will get a result like this:
In addition if we try to get to this URL without a form we will be redirected back to your main page.
We don’t want users to be able to type too much or upload just any kind of file so we will do some simple validation of the input data. We will check if submitted title is more than 255 characters in length like so:
strlen($title) > 255
And check if the selected file is an actual image by checking for it’s image data, this function will return false if its not able to grab image information it needs:
$is_image = getimagesize($file) ? true : false;
If any of these validations are not met we will simply redirect the user back to the main page.
Since we are writing our project in PHP there isn’t much dynamic with it but we can play around with sessions and make it look dynamic by adding error and success messages.
We will add session_start(); at the beginning of both of our php files (index.php and src/submit.php) so we can use sessions.
Sessions are simple variables that can be accessed from multiple php pages. We will set them in our /src/submit.php when needed and in our index.php page we will check if any of the sessions are set and if they are we will print them out and display them properly. Also, we will unset all sessions at the bottom of our index page so that sessions don’t repeat.
Even if we have a nice message for the file upload, we still aren’t actually uploading the files so lets start working on that and this is where Publitio comes into play.
In order to use Publitio PHP SDK we will need to include composers autoload script with a simple line of code:
require '../vendor/autoload.php';
Publitio upload file method needs an fopen instance or open stream of a file so lets fopen our selected file and check if the instance is actually good or something went wrong in the process like so:
$fp = fopen($file, "r");if (!$fp) {throw new Exception('File open failed.');}
We have everything we need for the upload so let's just do so:
$publitio = new \Publitio\API('xxx','yyy');$publitio->uploadFile($fp, 'file', array('public_id' => $title !== '' ? $title : null,'title' => $title !== '' ? $title : null,'folder' => 'zzz'));
Of course you will need to use your own API KEY and SECRET values instead of ‘xxx’ and ‘yyy’ as well as your premade folder name instead of ‘zzz’. You can get your keys from the API page on your dashboard.

We will wrap all of this in a try-catch block just to make sure if anything goes wrong we can handle it.
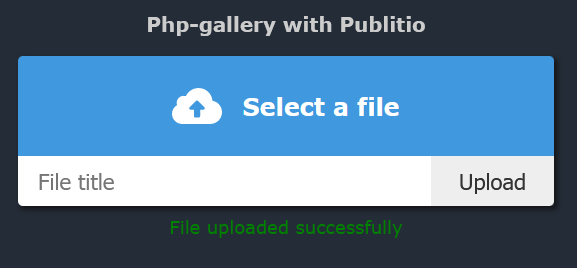
What are you waiting for? Go ahead, give it a try. Upload a file :)
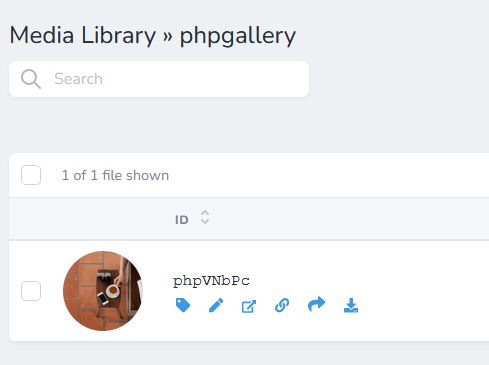
After uploading the file you will see our nice green message “File uploaded successfully” but not much more but if you take a look at your folder in Publitio dashboard you will notice a new file, the one you uploaded via our web page.
Yeey! We made our first file upload!
Let’s introduce environment variables to our project so we have all of them in a separate file.
We will use a static class so we can easily use these variables anywhere in the project where we include the file like so:
Variables::$API_KEYA gallery isn’t a gallery without displaying some images, right?
We can create a new file src/gallery.php and include it within our index page with simple line:
include 'src/gallery.php';
Now all we do in our gallery file will be printed out on our main page.
So let's start by including composer’s autoload, our variables class, making a Publitio API instance and grabbing our images from the folder we specified with a simple Publitio call.
$publitio = new \Publitio\API(Variables::$API_KEY, Variables::$API_SECRET);$images = $publitio->call('/files/list', 'GET', ['limit' => Variables::$PER_PAGE,'folder' => Variables::$FOLDER,'order' => 'date:desc','filter_type' => 'image']);
Notice how we can specify a list of filters which we want to apply to our API call:
- Limit number of results
- Grab files from specific folder
- Order it so the last one uploaded comes first
- Grab only images
You can find a full list of available filters in Publitio documentation.
Reload our main page and see how our project comes to life.
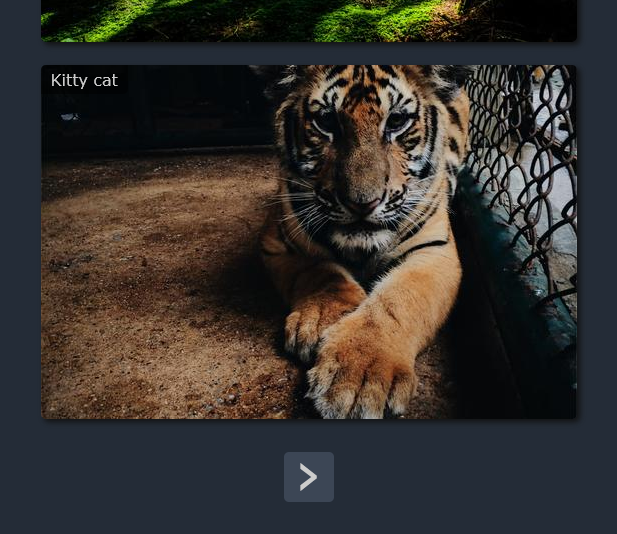
We can play around with it and upload some more images with different titles.
All of these files are uploaded and listed directly to/from our Publitio folder.
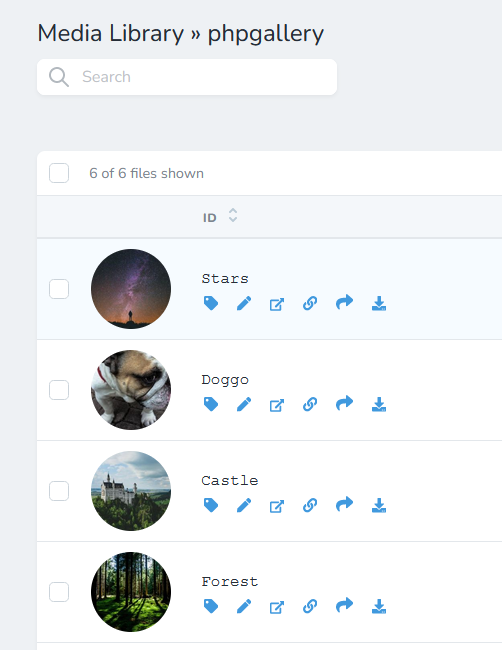
It all comes together. Notice how I have uploaded 6 files but we limited our request to return only 5 files. It is always good to limit results so we get the maximum page loading speed possible since sometimes we can’t be sure how many images there are going to be in a folder. This is why we will make a simple pagination for our gallery.
We want to add a URL parameter to our page which will tell us what page we are on at the moment, if no page is specified we will set it to 1.
$page = isset($_GET['page']) ? $_GET['page'] : 1;
Also, we will need an offset number. This number represents the number of images to be skipped from the folder. For example, if we are on the first page of our gallery we want to display images 1-5 (offset 0), if we are on a second page of our gallery we want to display images 6-10
(offset 5), etc…
We can calculate our offset like so:
$offset = ($page - 1) * Variables::$PER_PAGE;
And the last thing we will need for our pagination is the number of total pages which we can calculate using the info provided by Publitio API response.
$pages = ceil($images->files_total / Variables::$PER_PAGE) ?? 1;
We add some HTML for displaying the actual pagination navigation and voila we are successfully uploading and displaying images to/from Publitio API.
You can find all of the code for this project on this github page:
https://github.com/ilic993/publitio-php-gallery/
I also included some comments in the code so it is easier to understand.
Go ahead, be free to improve our little project!
Who knows, maybe you will be the owner of the next Instagram :)
Maybe try expanding our project to work with video files too, the possibilities are endless.
Let me know what you think about this post in the comments below.
Thank you for reading and happy coding.


